3D Printed Laptop Stand
This past week Autodesk held their annual training conference, Autodesk University. They are one of a handful of publishers of CAD software. Along with a long list of other design software, they publish Fusion 360, a relatively accessible 3D modeling program that is great for CNC machining and 3D printering. I have been learning and using Fusion for the past couple of years, and very recently became a paying subscriber to the platform.
The AU conference was remote this year, obviously. It made for a much more accessible conference and was free to boot. There were a few sessions that I was interested in and had time to attend. A couple of those sessions revolved around generative design, something that I knew next to nothing about. One session (that they did live seven or eight times!) was creating a laptop stand with generative design, manufacturing some of its parts on a CNC and other parts on a 3d printer.
I Guess I Could Use a Laptop Stand…
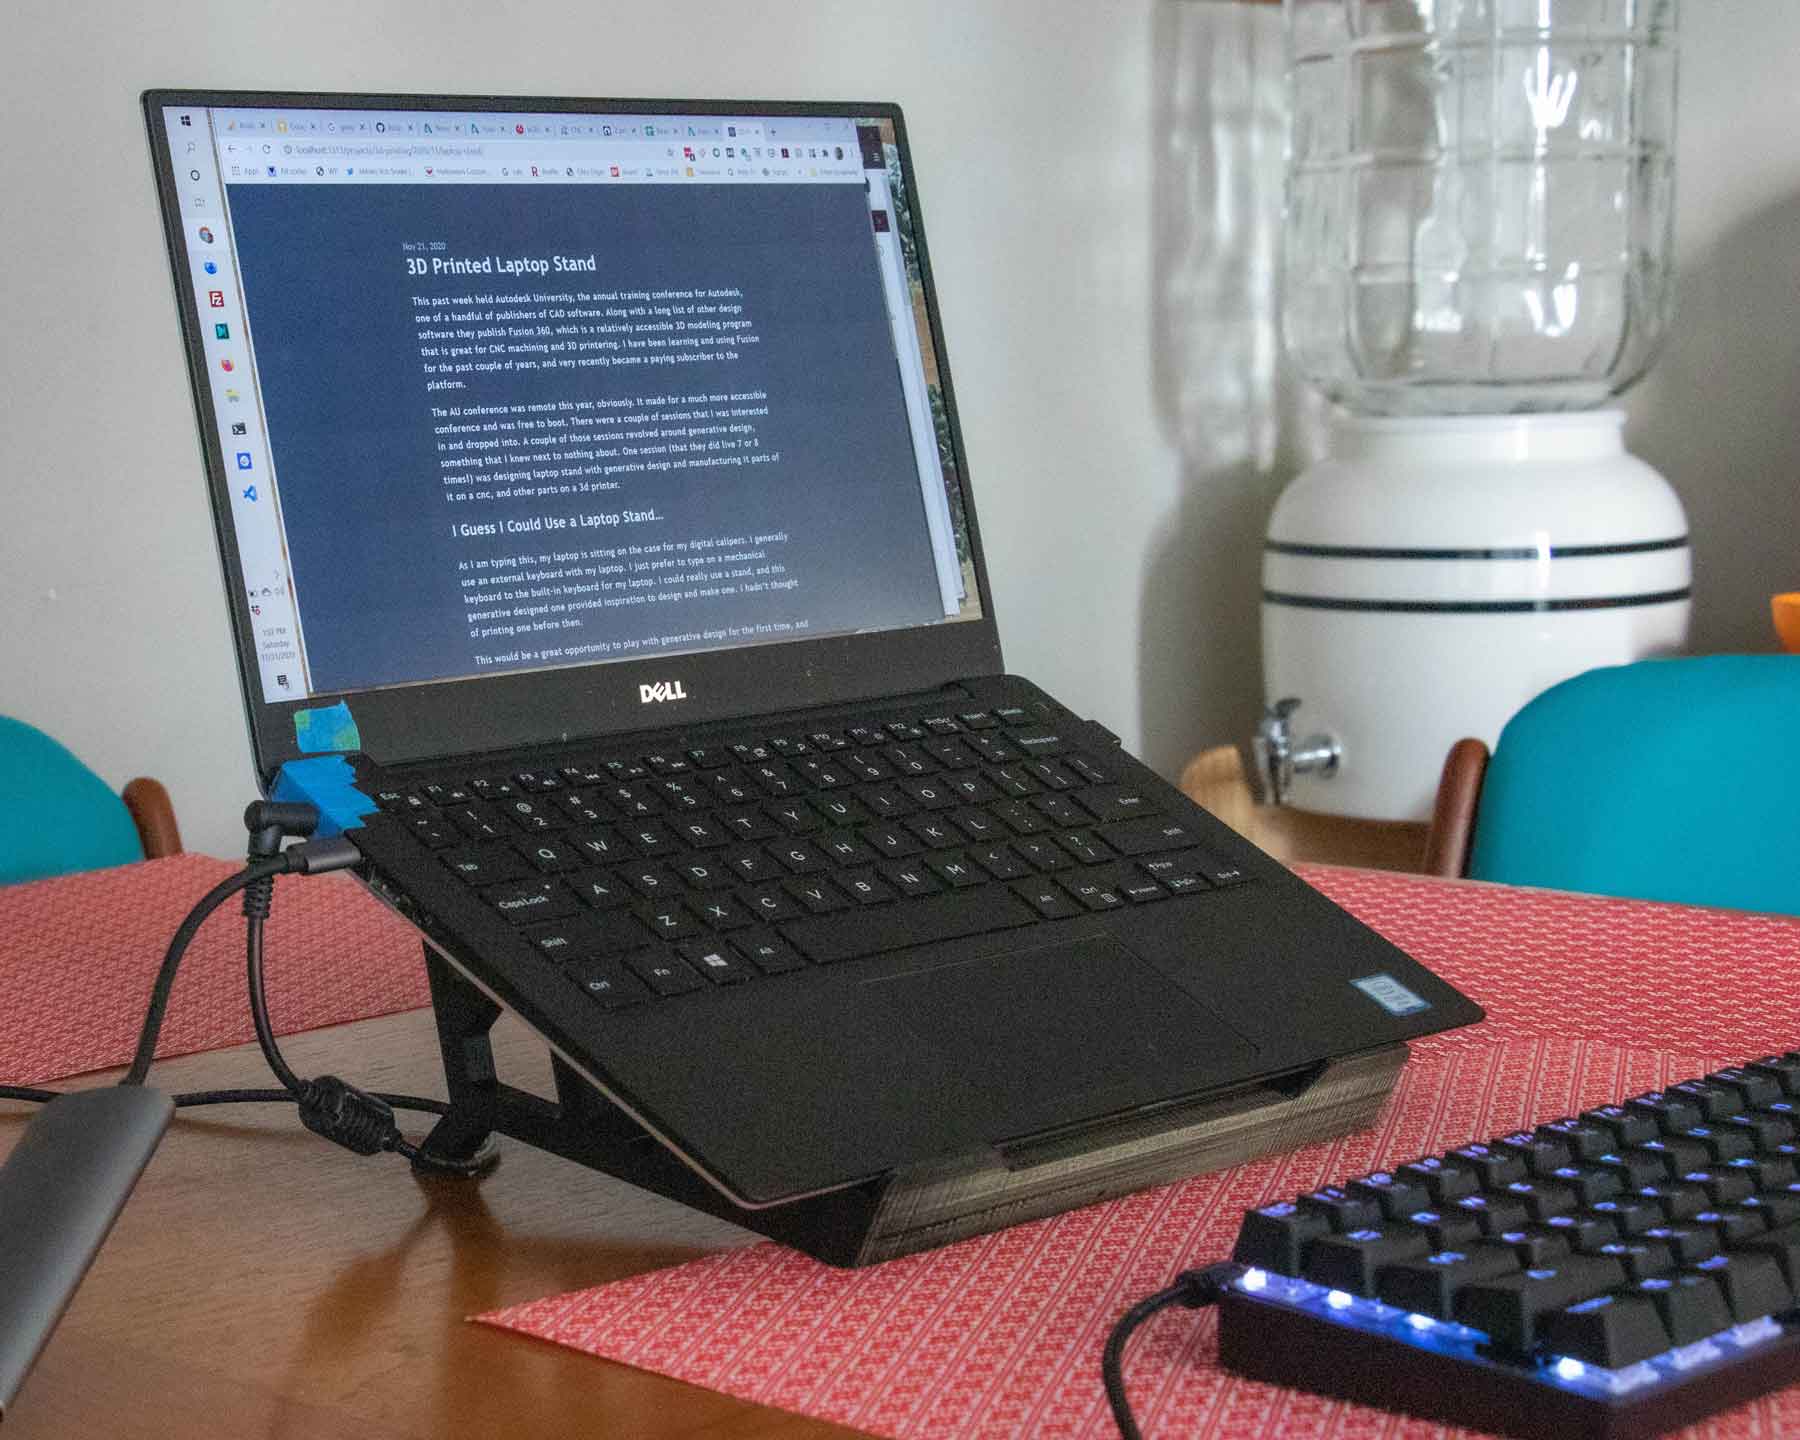
Until now, my laptop sat on the case for my digital calipers or something similar. I often use an external keyboard with my computer; I prefer to type on a mechanical keyboard over the built-in board of a laptop. I’ve been wanting a stand, and this generative designed one provided inspiration for me to design and make one. I hadn’t thought of printing one before the conference. I mean heck, it’s been a pretty short amount of time that I’ve had a 3d printer.
This was a great opportunity to play with generative design for the first time, and have something to compare it to. After looking a little more into it, I realized the reason that there were so many sessions on generative design at Autodesk U. It’s free to generate models, but if you want to use one of the generated designs, it’s $100USD to import into your project! Not for me at this time, lol. I saw the opportunity to work through some design challenges and decided to build it anyway.
The Result
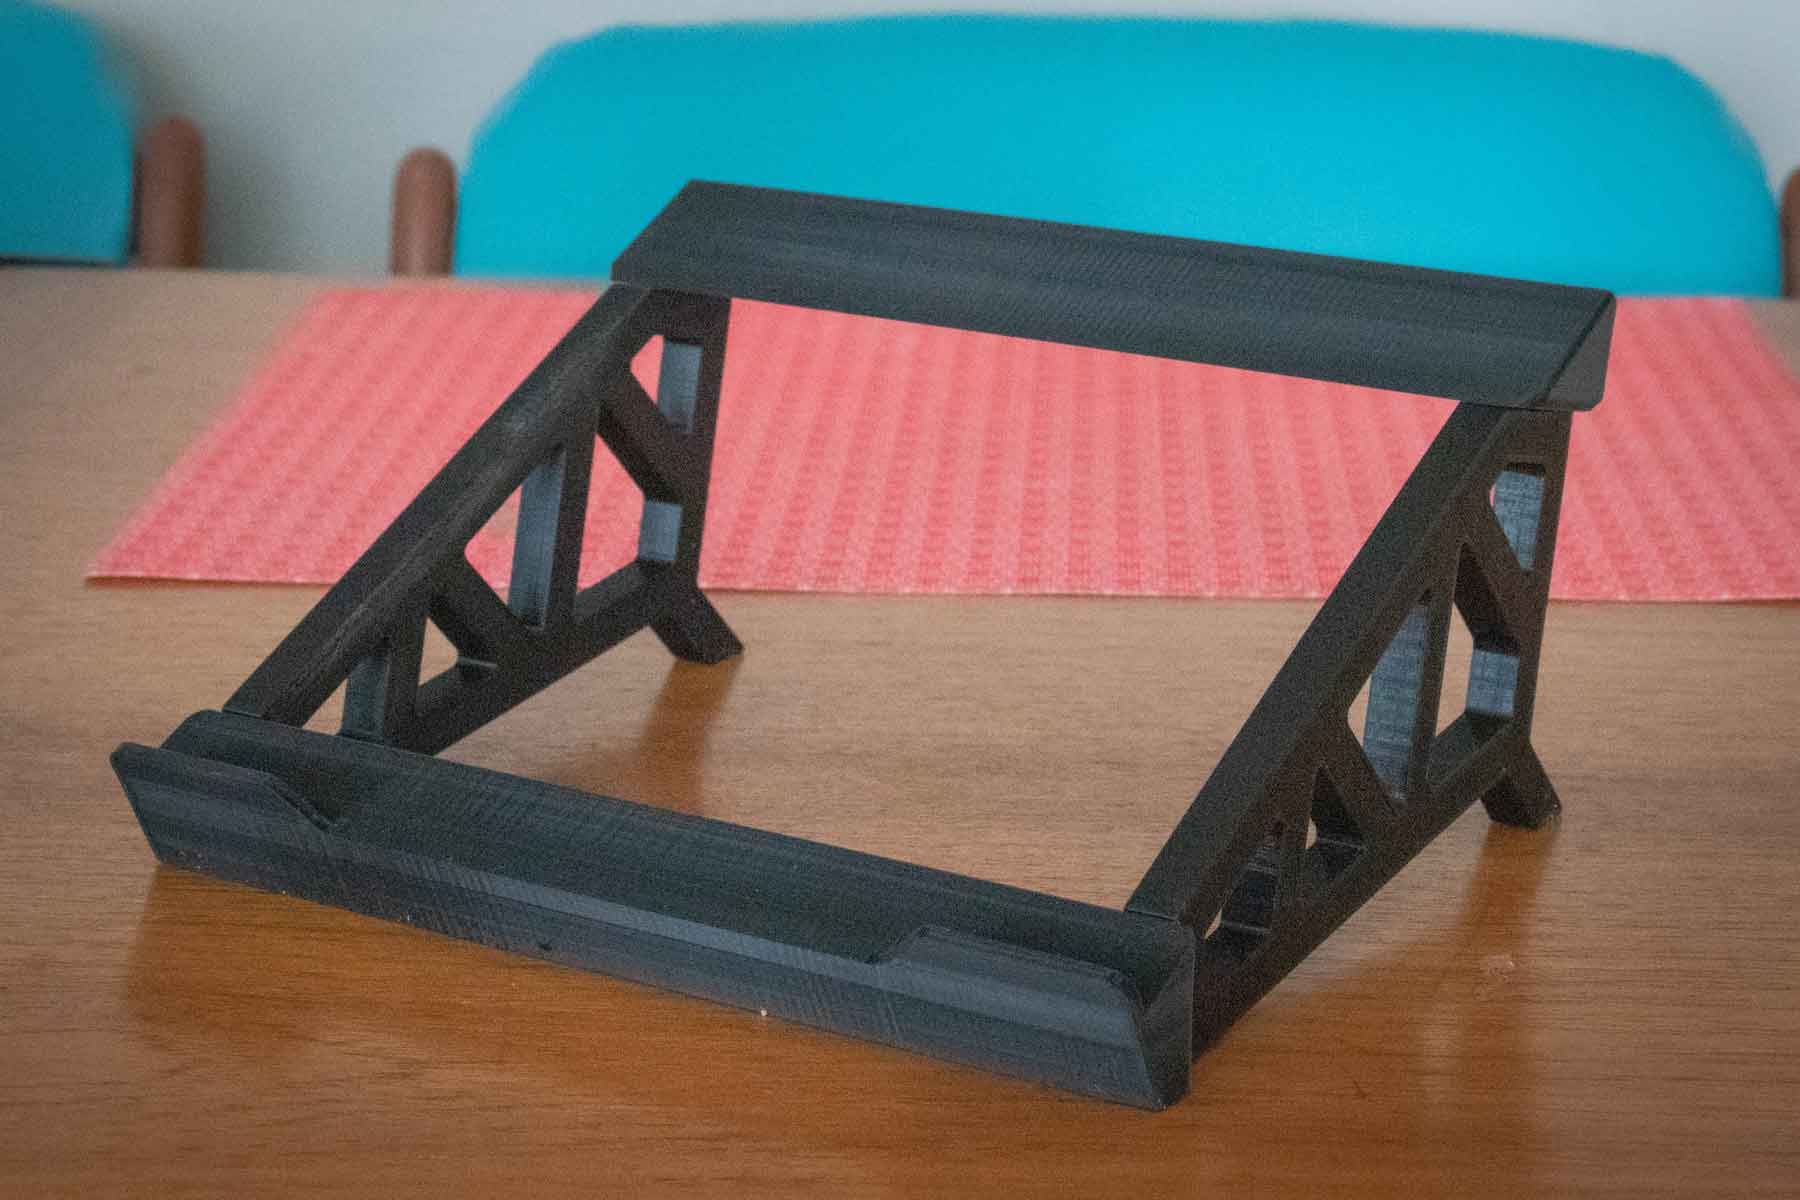
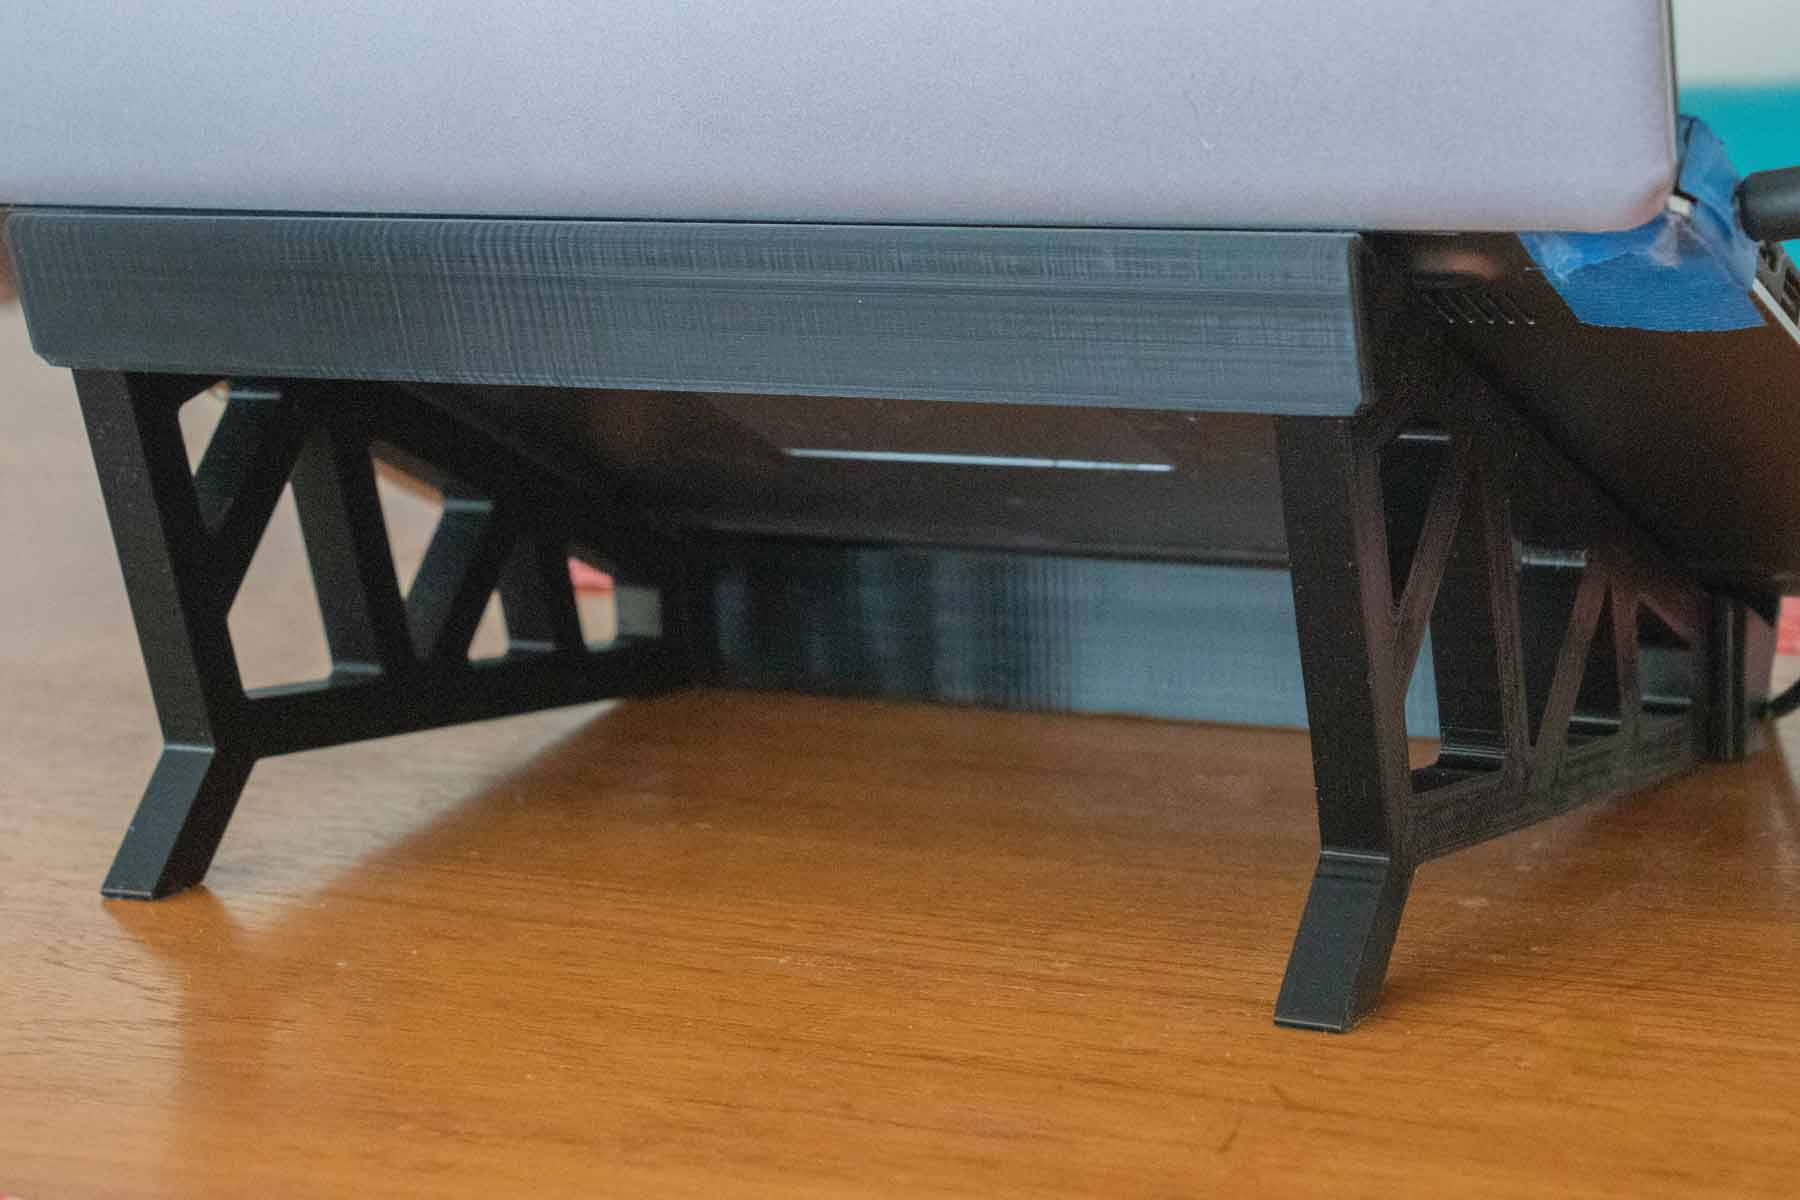
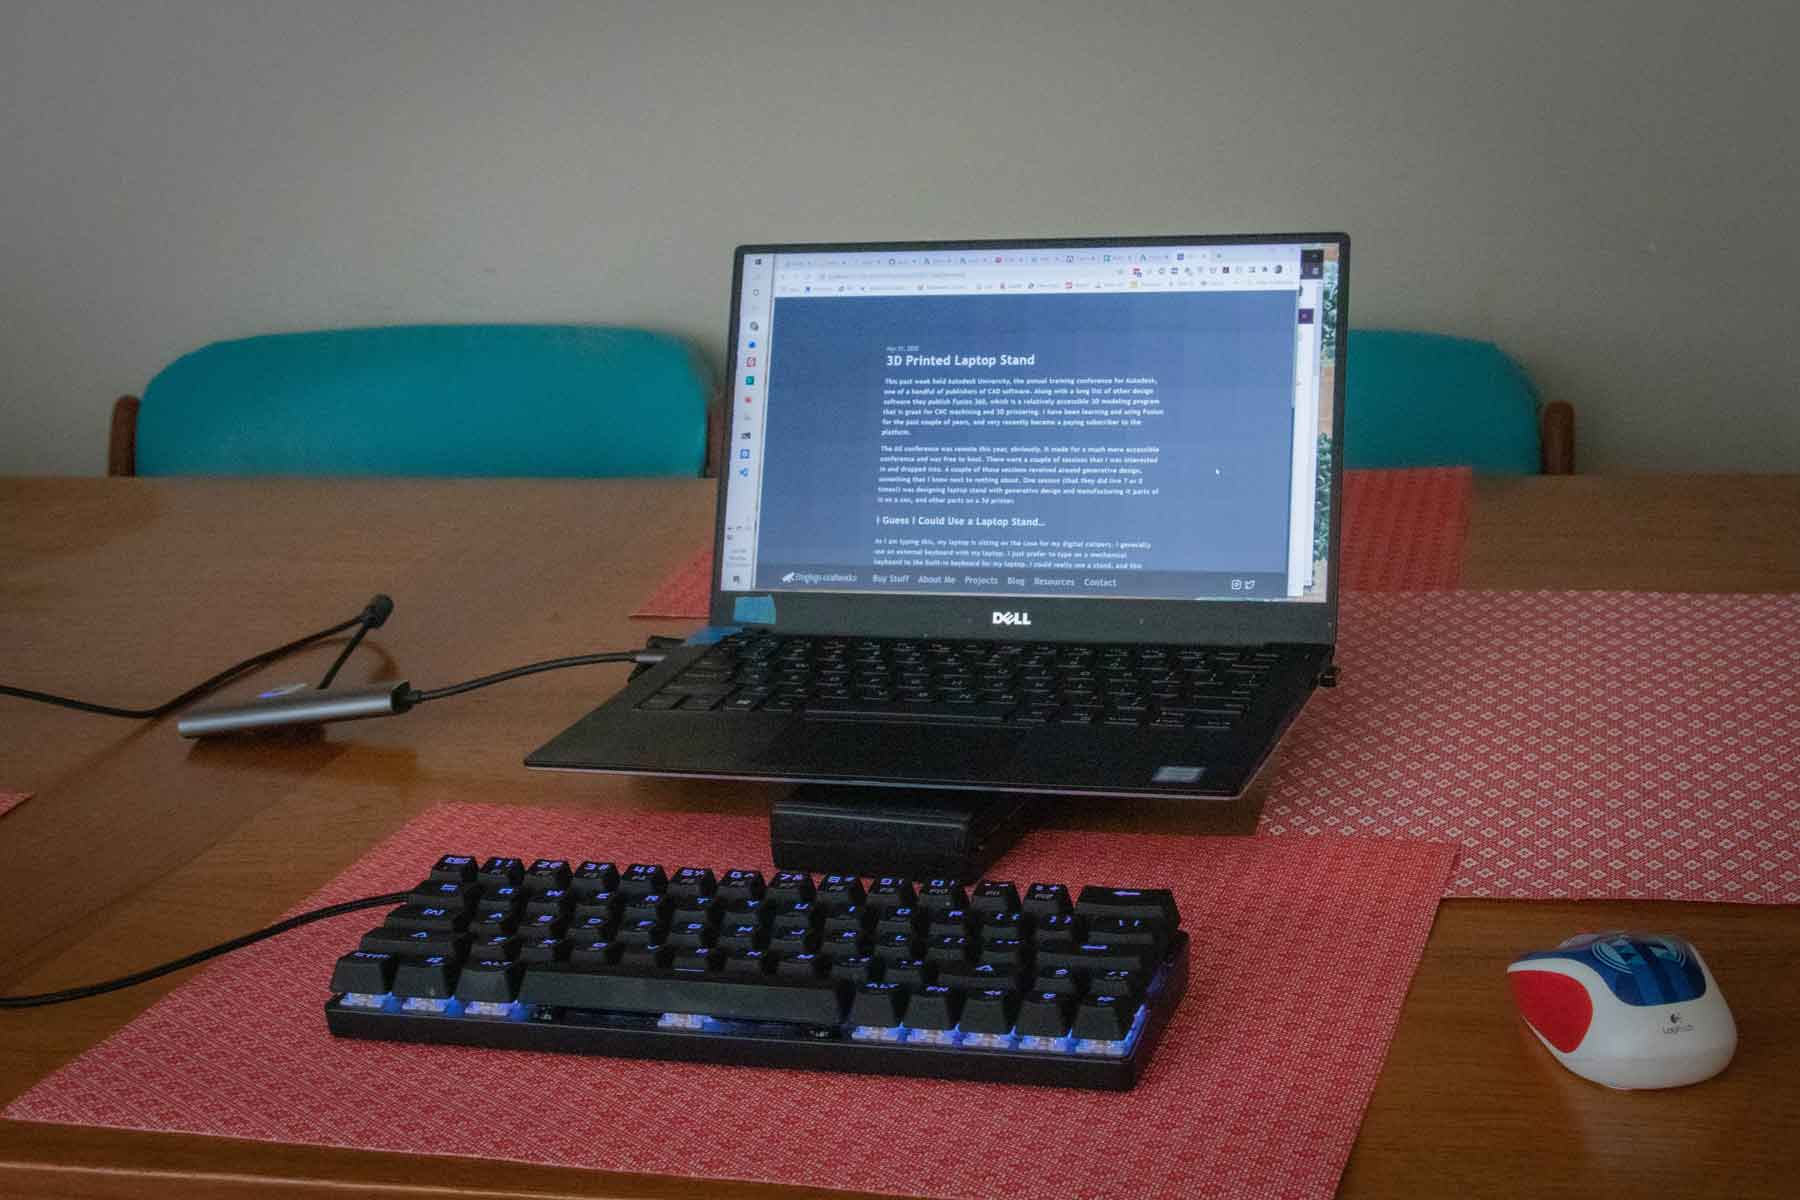
This is what I came up with. (The STL files can be downloaded from MyMiniFactory, right here.) Its design is certainly borrowed from the stand at AU. It prints in four parts, without support, and slips together straight off of the printer without modification or cleanup. It is stable and sturdy. Dare I say a masterpiece? I suppose that would be an overstep.
In this process, I learned a bit about designing geometries specifically for 3d printing and about designing parts that fit together. It definitely took some thought regarding the joining parts. I am quite happy with the design overall, especially since it worked straight away at version 1. I will admit that the angle is a little steep if I was planning to type on the laptop keyboard, but for my use it’s acceptable. Plus it breaks down easily and could slip into a pocket of a backpack. I guess I may need to design a case or clip to hold the pieces together next.