Dovetailed Toy Crates
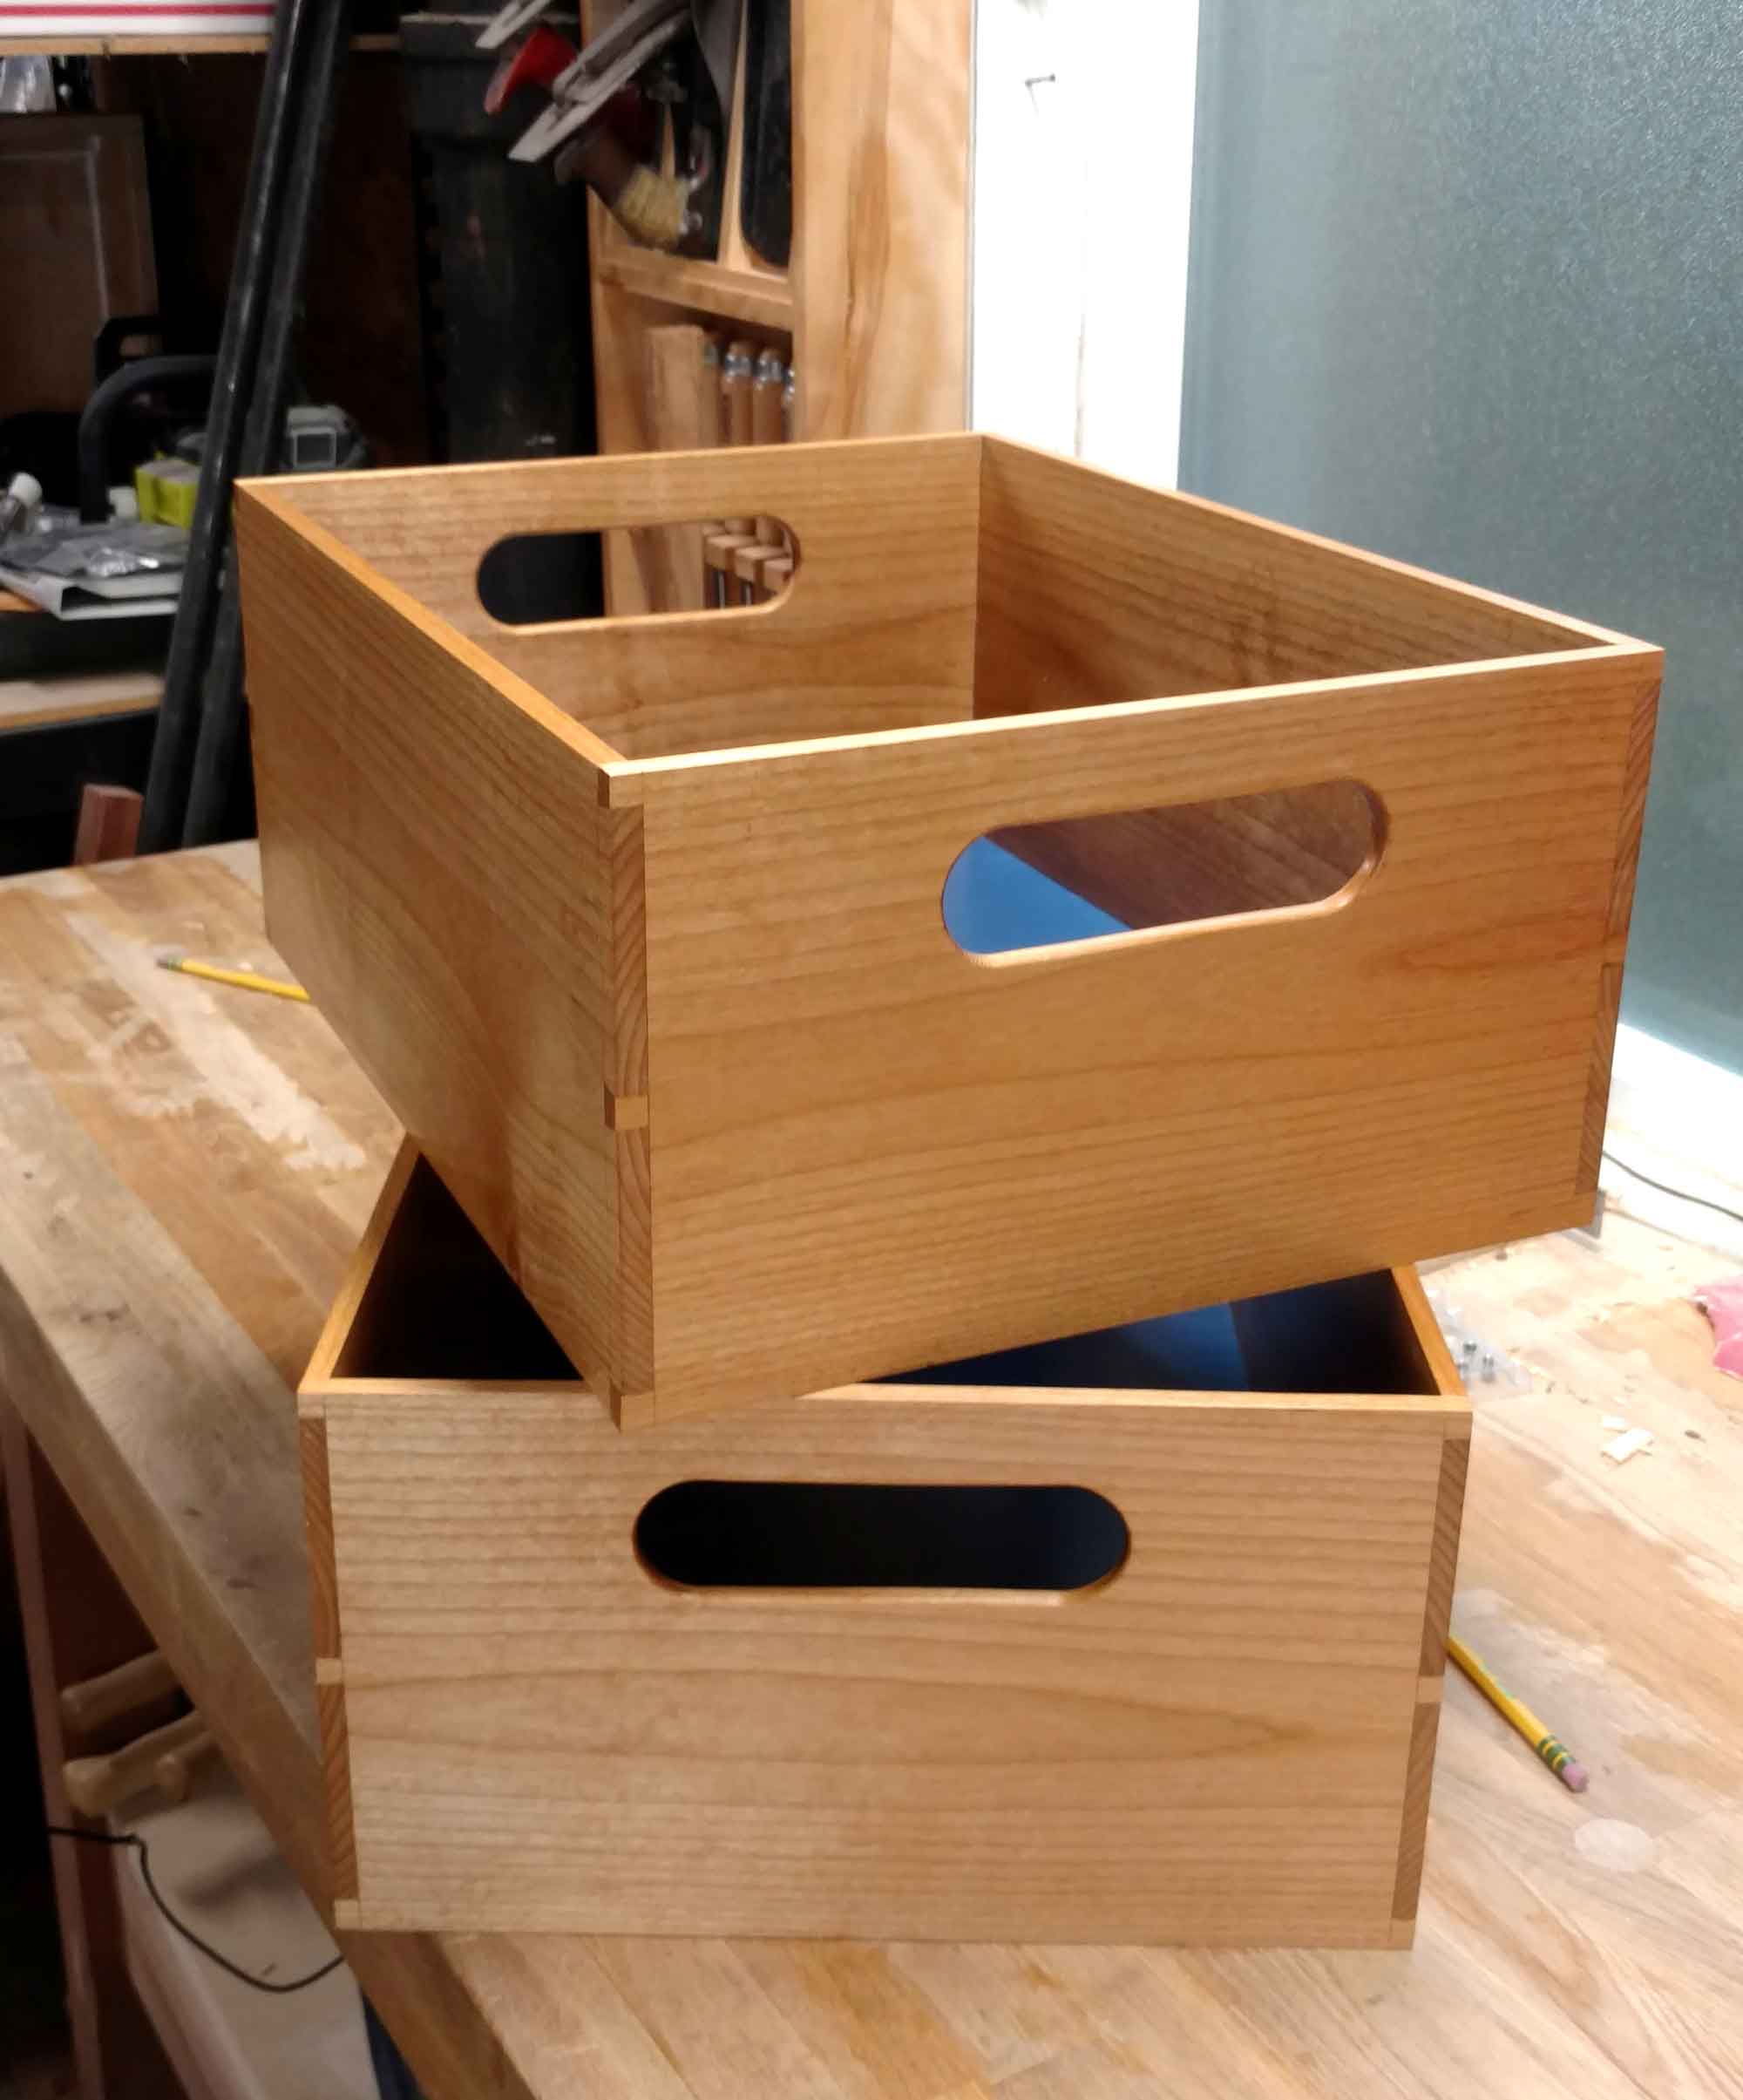
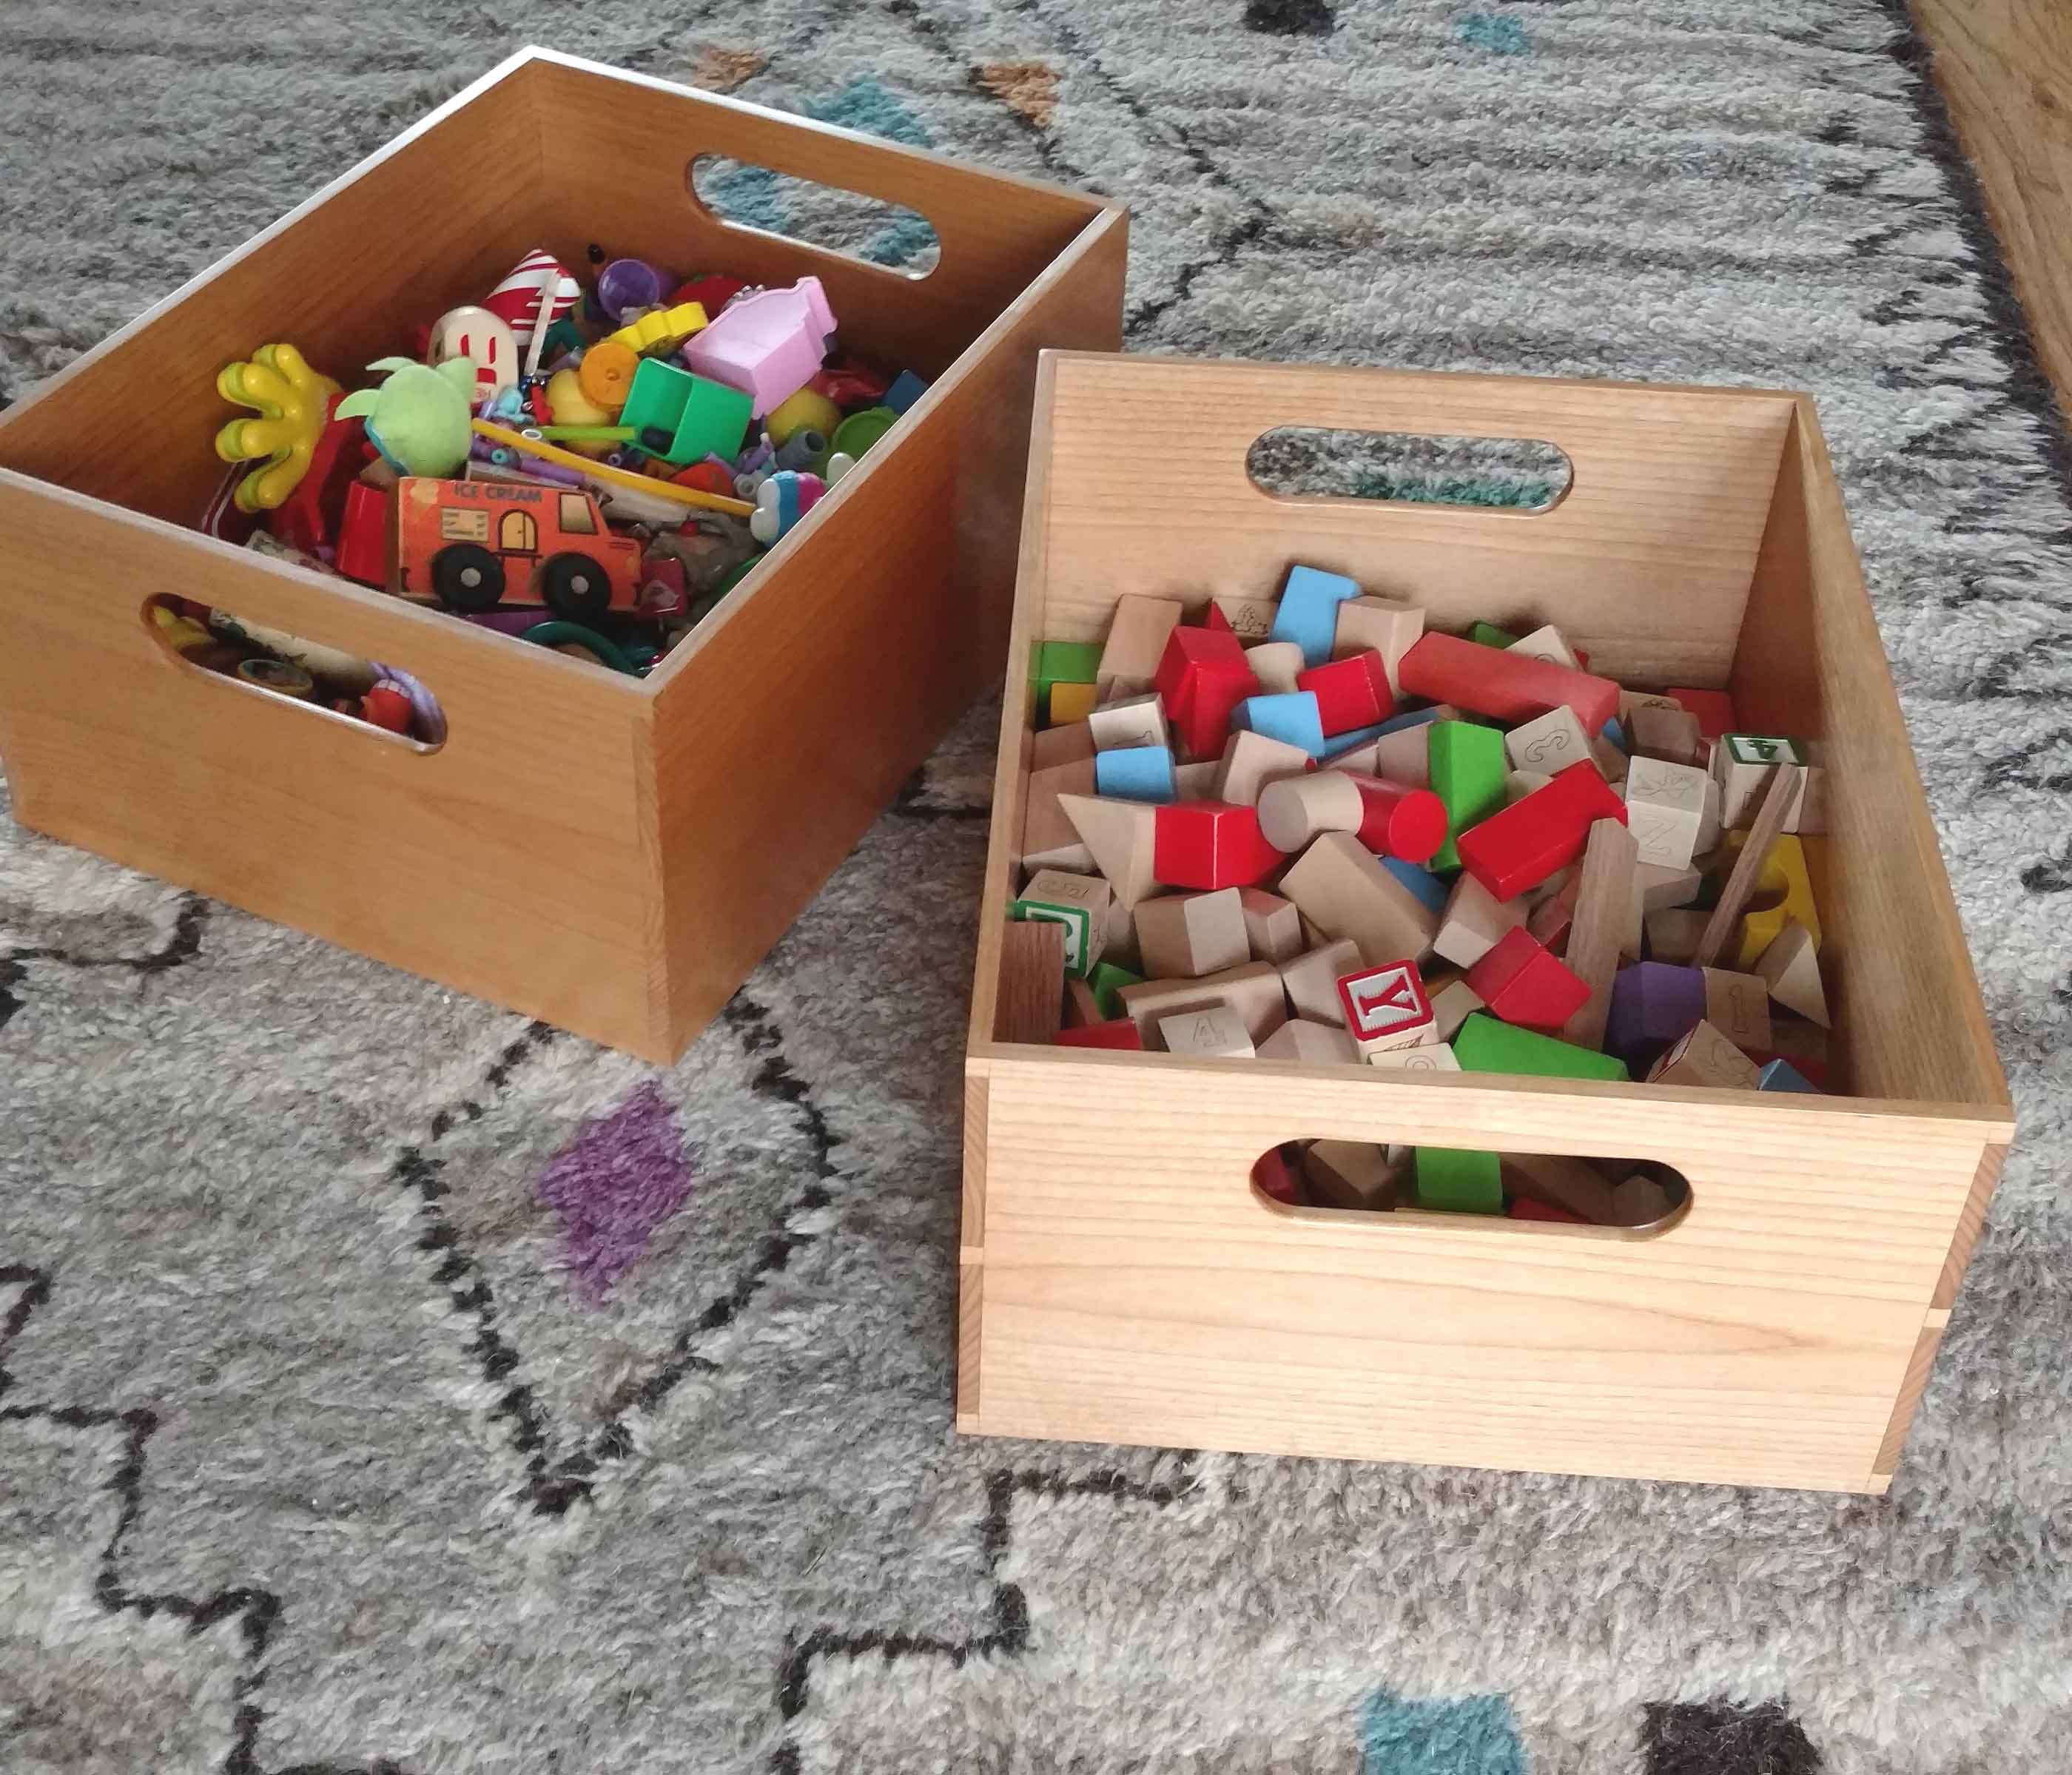
There used to be some ugly, banged-up, wire-mesh baskets under the fireplace in my living room. These were vessels to hold a whole mess of small-sized toys that spend more time on the hardwood floor and rug than they do put away. In an effort to make things just a tad better looking in the living room, I built a couple of dovetailed crates to replace the wire baskets. This was a pretty straightforward build, so I’ll try to keep this to a straightforward article.
Wood Selection
Picking out some boards was pretty easy. I’ve been playing with Alder lately, and there was a 8-inch wide Alder board at Dunn Lumber that looked pretty good, and was long enough for both crates. Easy part done. For the bottom, I had set my sights on Baltic Birch, as it is stable, void-free, and makes for a good drawer/box bottom. I wanted these crates to be sturdy, so 1/4" seemed a little thin to me. The alder was to be resawed to 3/8" thick, so 1/2" would be overkill. I managed to track down a half-sheet of 9mm Baltic Birch at Woodcraft, for about the same price a full sheet of 12mm at Dunn Lumber. I bought it anyway. If I were to do it again, I would go with 6mm. It would be plenty strong. C’est la vie.
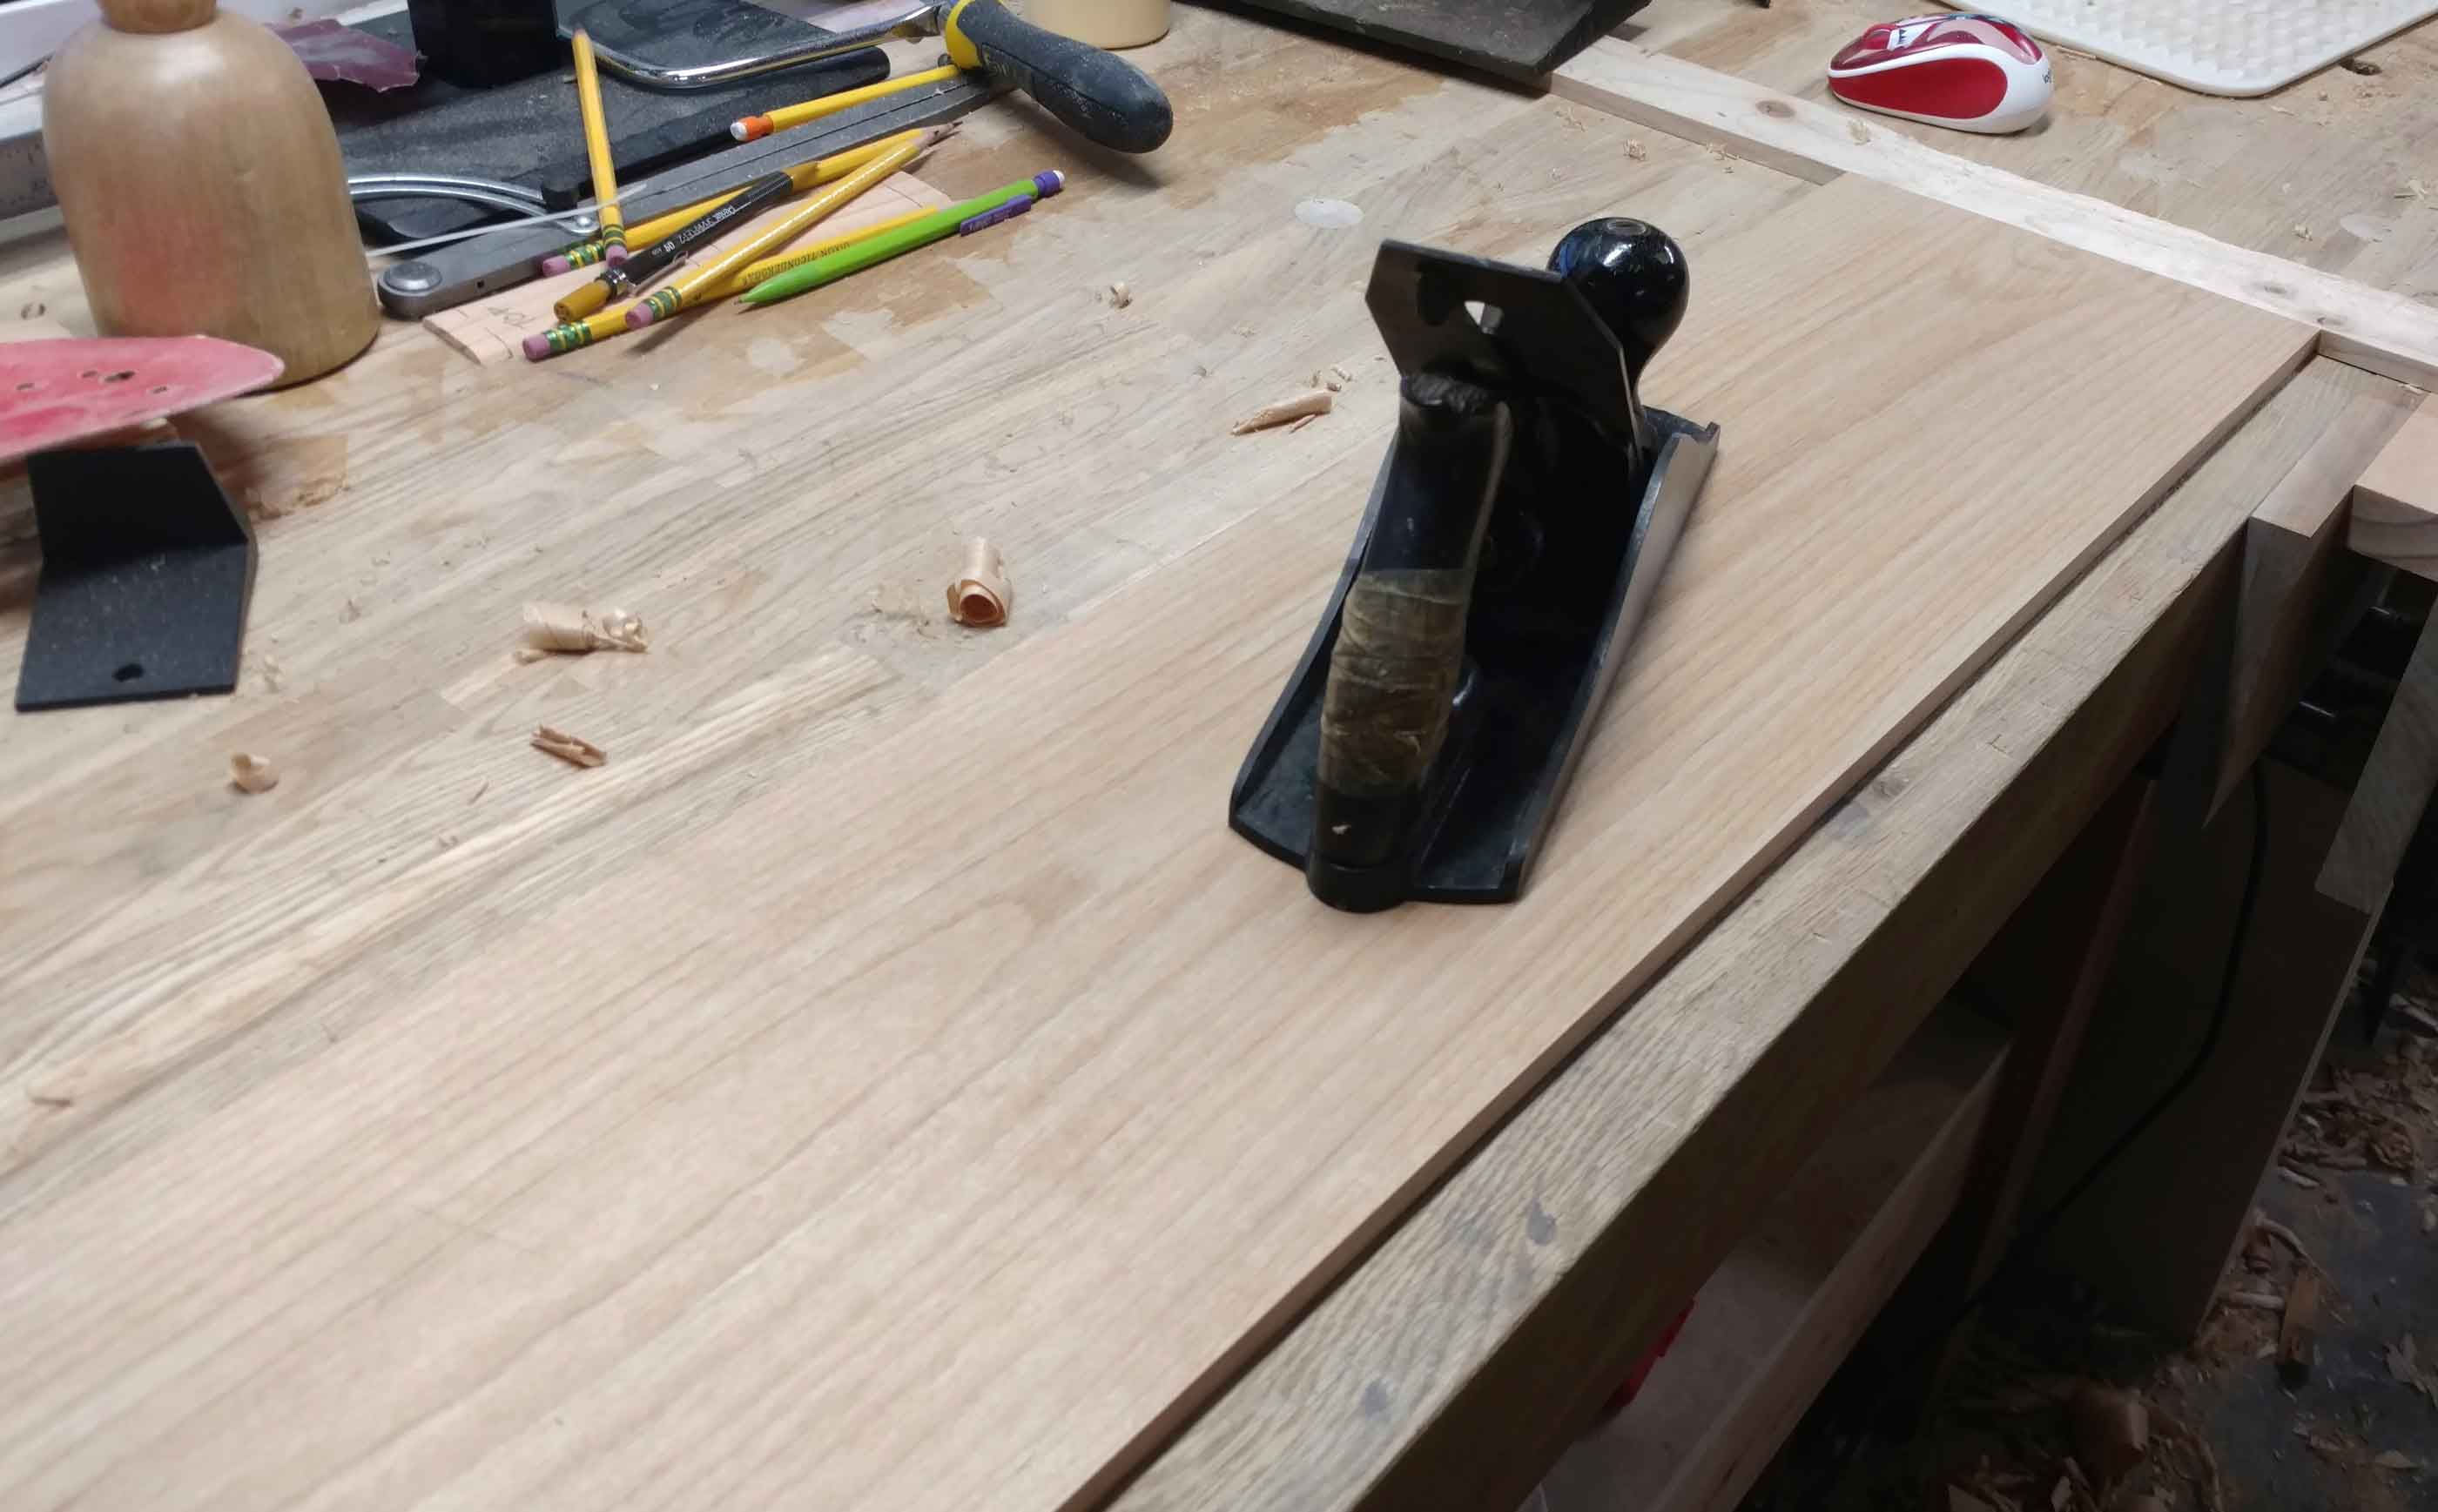
The sides were cut from 13/16" alder. Since the board is too wide for my jointer, I flattened it with handplanes, from #7 to #4. After carefully resawing them in half, the first set was cleaned up with hand tools, the second was done in the planer. The first crate’s sides came out about 3/8" (9.5mm) thick. The second, due to using power tools to flatten and clean up, came in closer to 5/16" (8mm).
Build
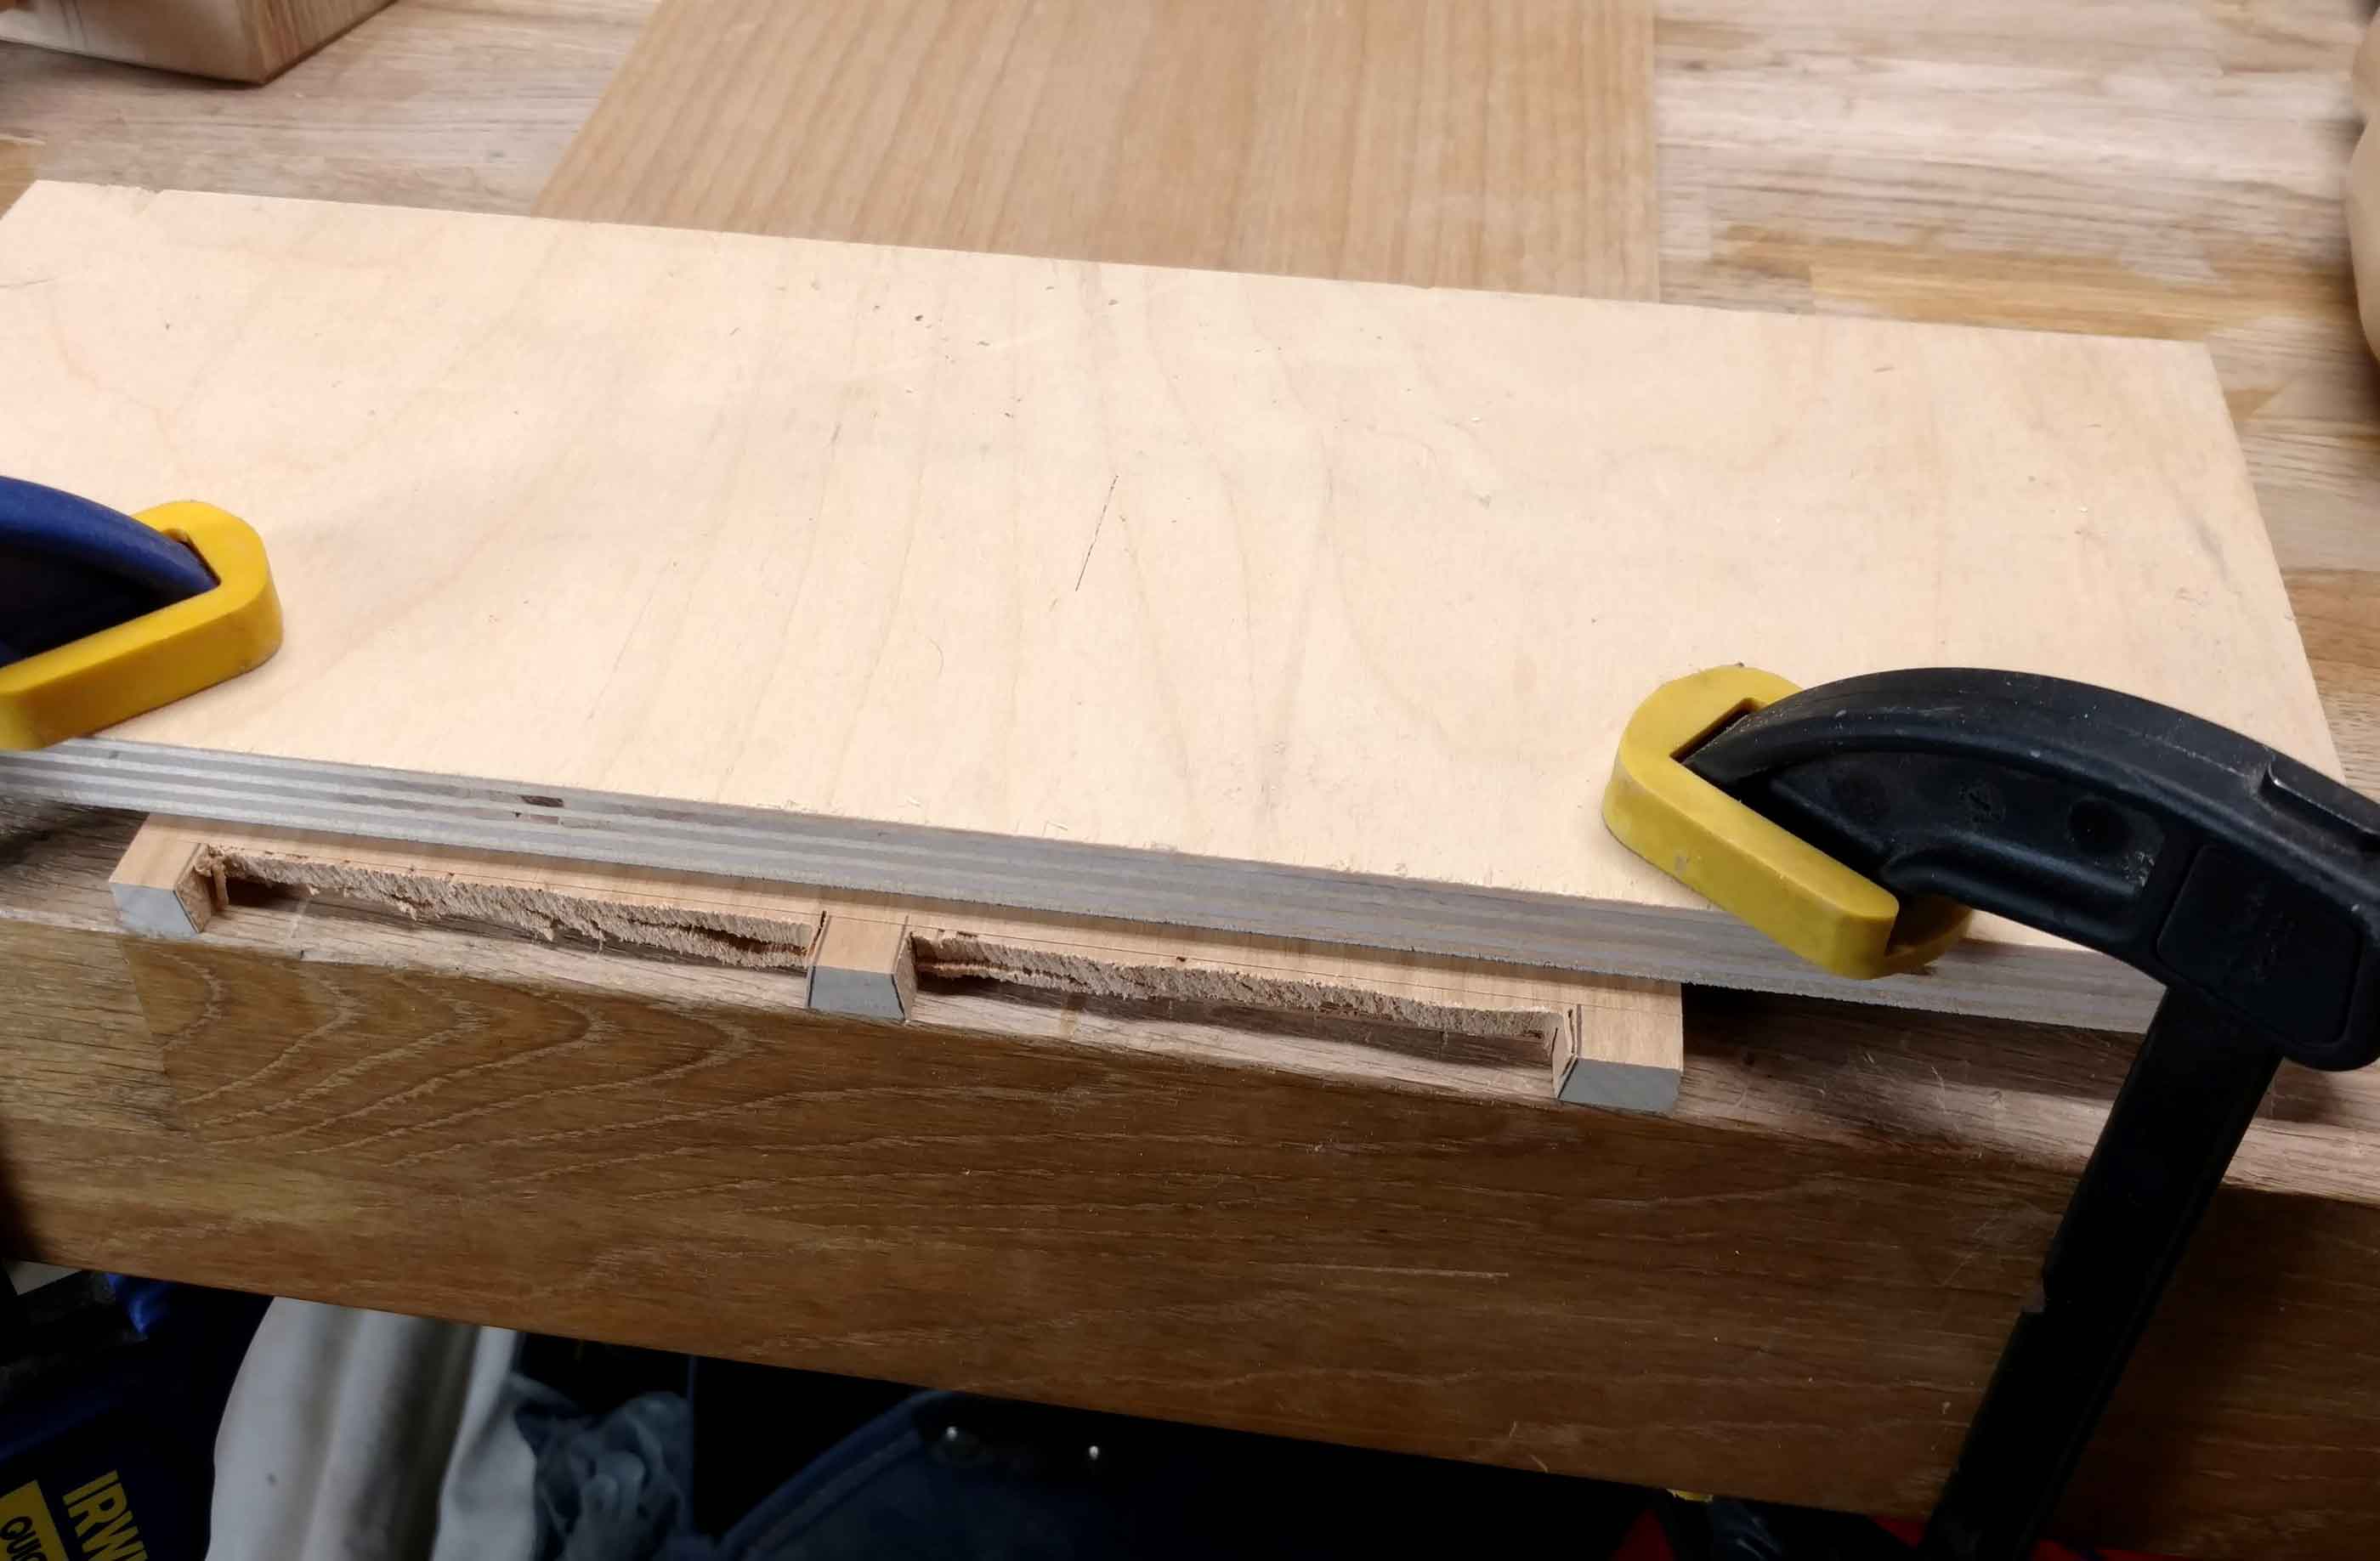
Like I said earlier, this was a very straightforward build. The corner joinery was done with handcut dovetails, with two wide tails per corner. Pins and tails were cut with a Japanese Dozuki saw and Narex chisels.
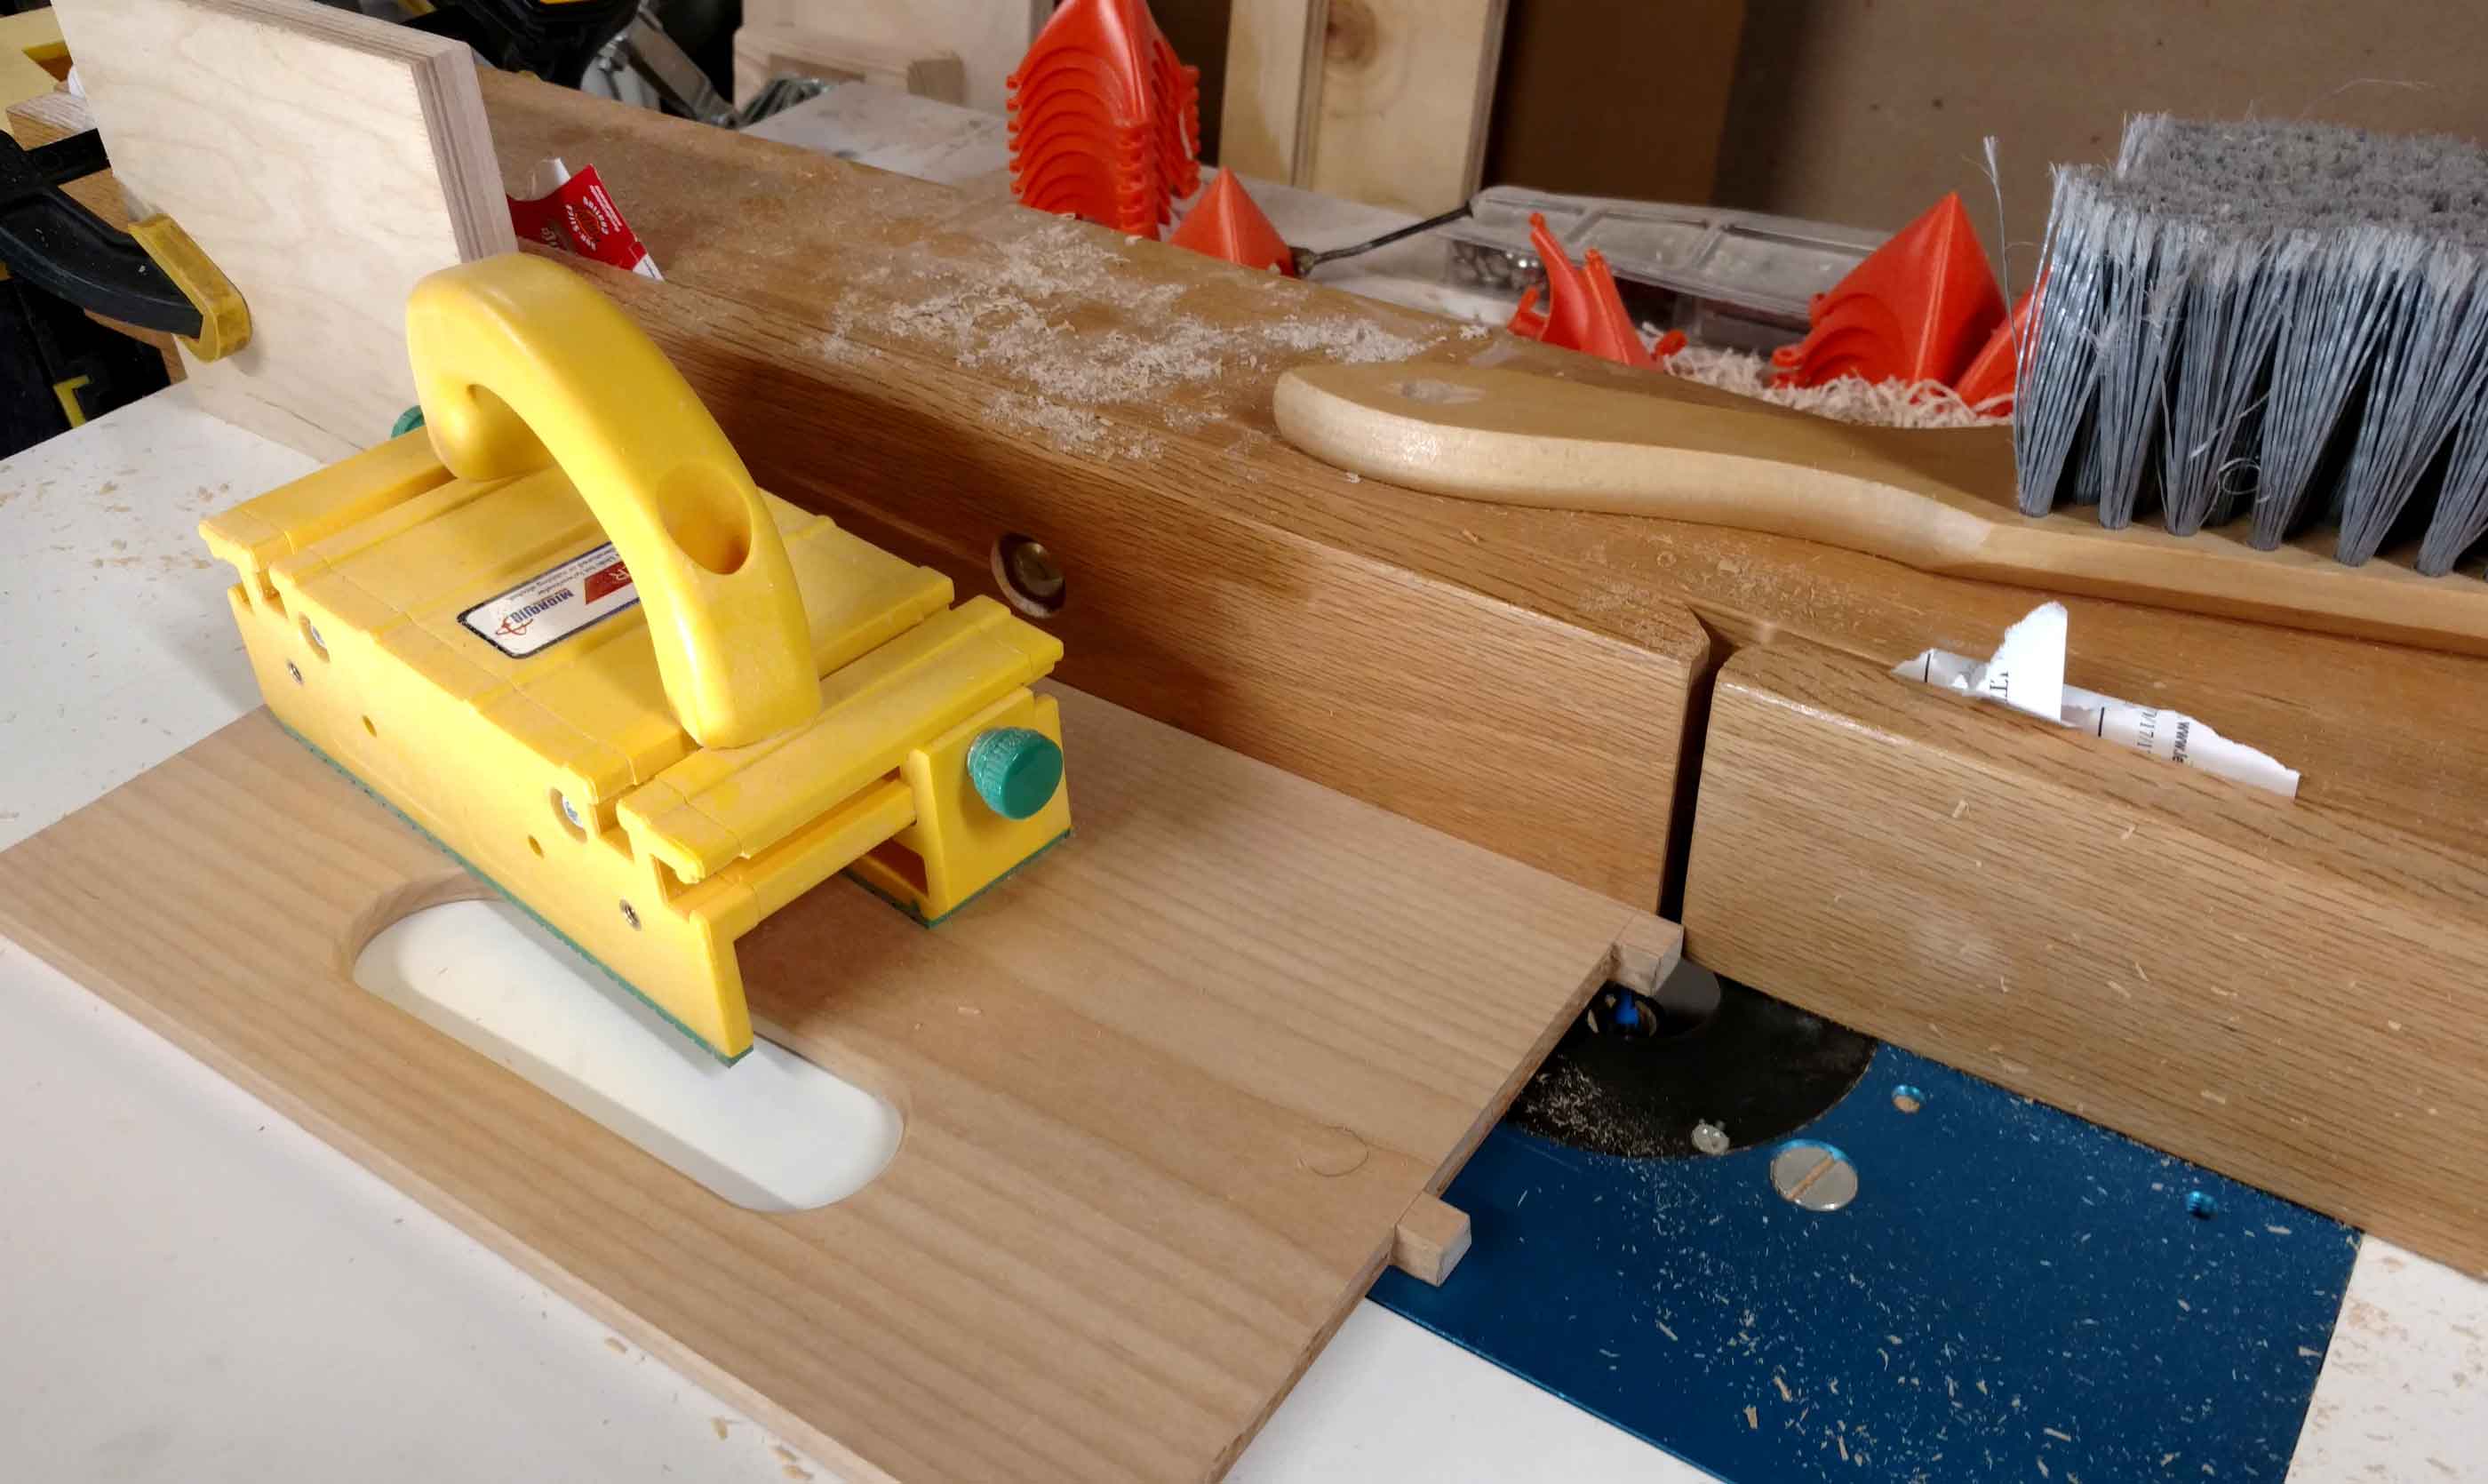
It got a little interesting when it came time to cut the grooves for the bottoms. Since the pins' ends are exposed, they can’t have grooves blowing out the front and back. I decided to use my router table for cutting the grooves rather than the tablesaw, and I’m glad that I did. It was rather simple to set up fore and aft stop blocks, and I dropped the box side onto the spinning cutter on the leading corner, and slid it to the end stop block. This resulted in grooves that were able to be cut to within 3/16" of the end of the pin. A little harrowing the first couple of passes, but I will use that method again for sure.
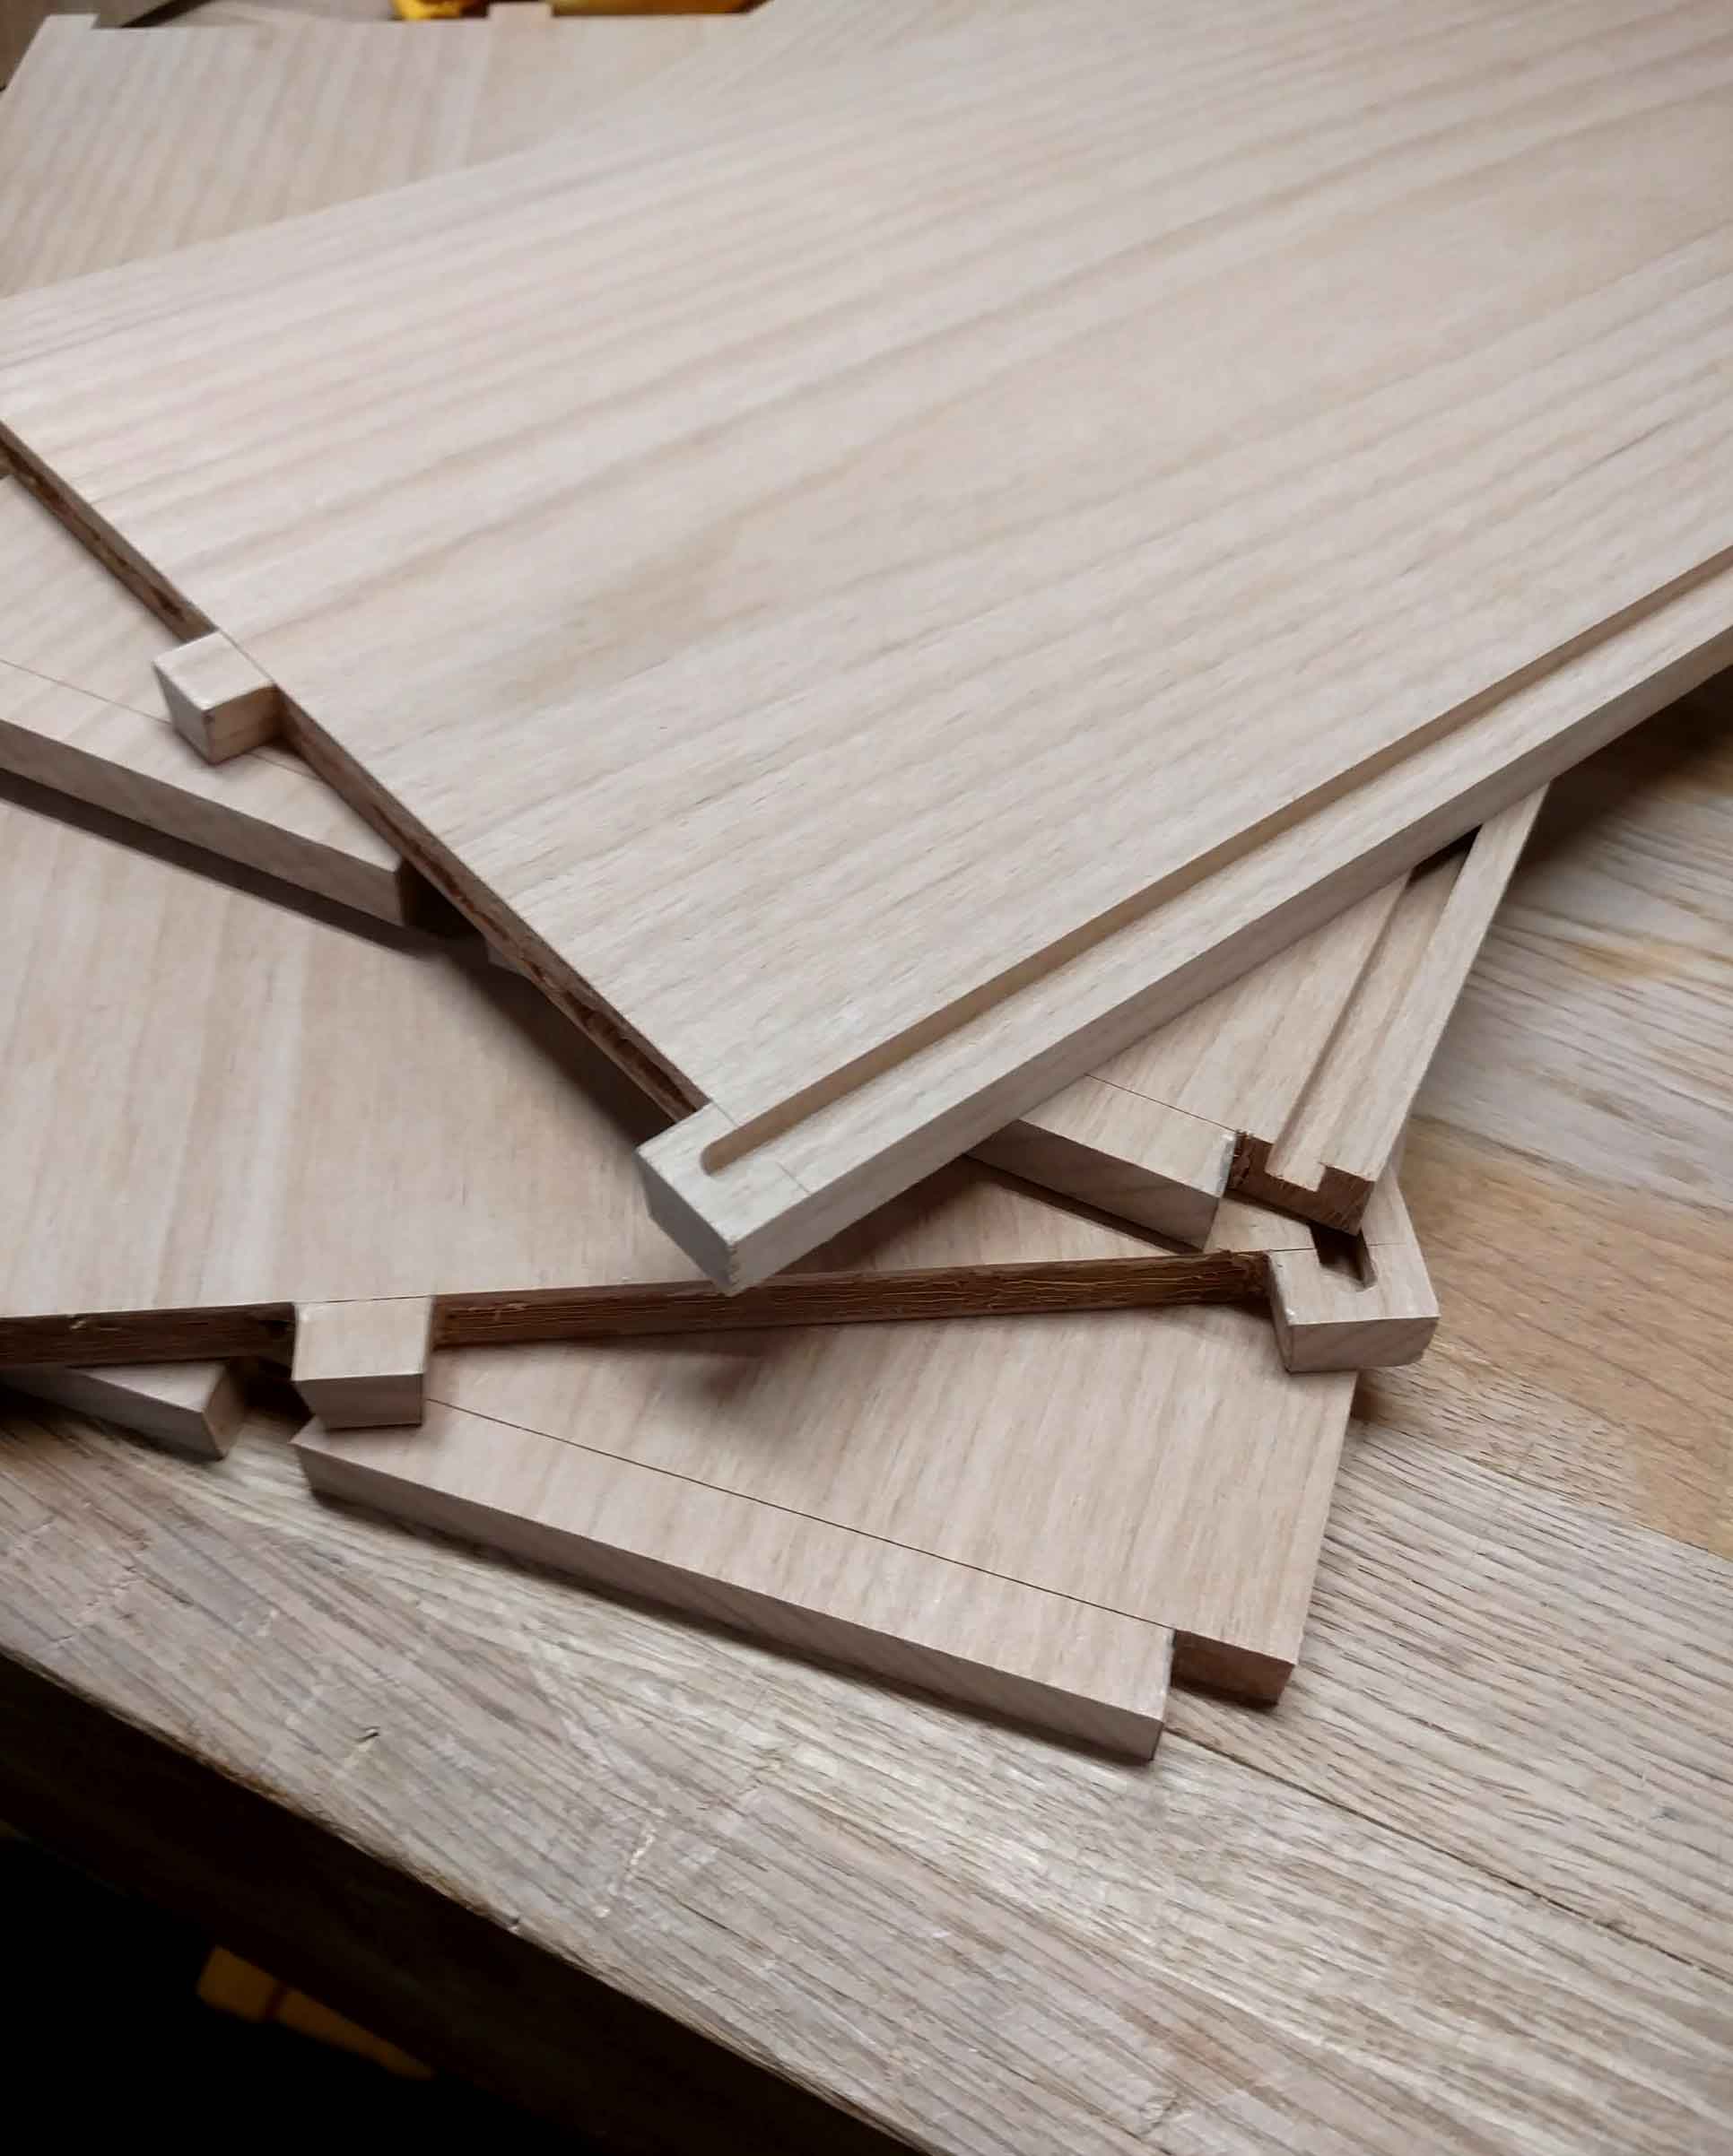
The crate bottoms were cut to the size of the length and width of the crates, minus 3/8". This allowed for a 3/16" tongue to run in the grooves cut into the sides. A 3/16" x 3/16" rabbet was cut along to the bottom edge of the box bottom. With other plywood I may have been nervous about cutting such a rabbet, but Baltic Birch is well-made and stable enough I wasn’t worried.
Handholds and Glue-Up
For the handles, I made a quick pattern-routing template from 3/4" MDF. I find MDF to be the best material for shop-made router templates. (I am getting one 3D printed for me right now, however, so we’ll see how that goes.) A couple of large forstner bit holes, some jigsawing, filing, and a lot of sanding, and we were in business.
I use the pattern in a multi-step process. I first trace the pattern onto the workpiece, then pop a medium sized hole with a hand-drill. I then cut out well inside the line with a jigsaw.
After the pattern has been roughed out, I use double-stick mounting tape to affix the pattern to the workpiece, in just the right position. Using a bearing-guided pattern-routing bit, I take several passes around the inside of the pattern, working slowly and carefully enough to eliminate burning and chipout. After the cutout is flush with the pattern, the pattern can be popped off easily with a chisel, as long as it hasn’t been affixed for too long. Make sure your fingers are not in the line of fire of your chisel, however, or you may need a little bit of super-glue first aid.
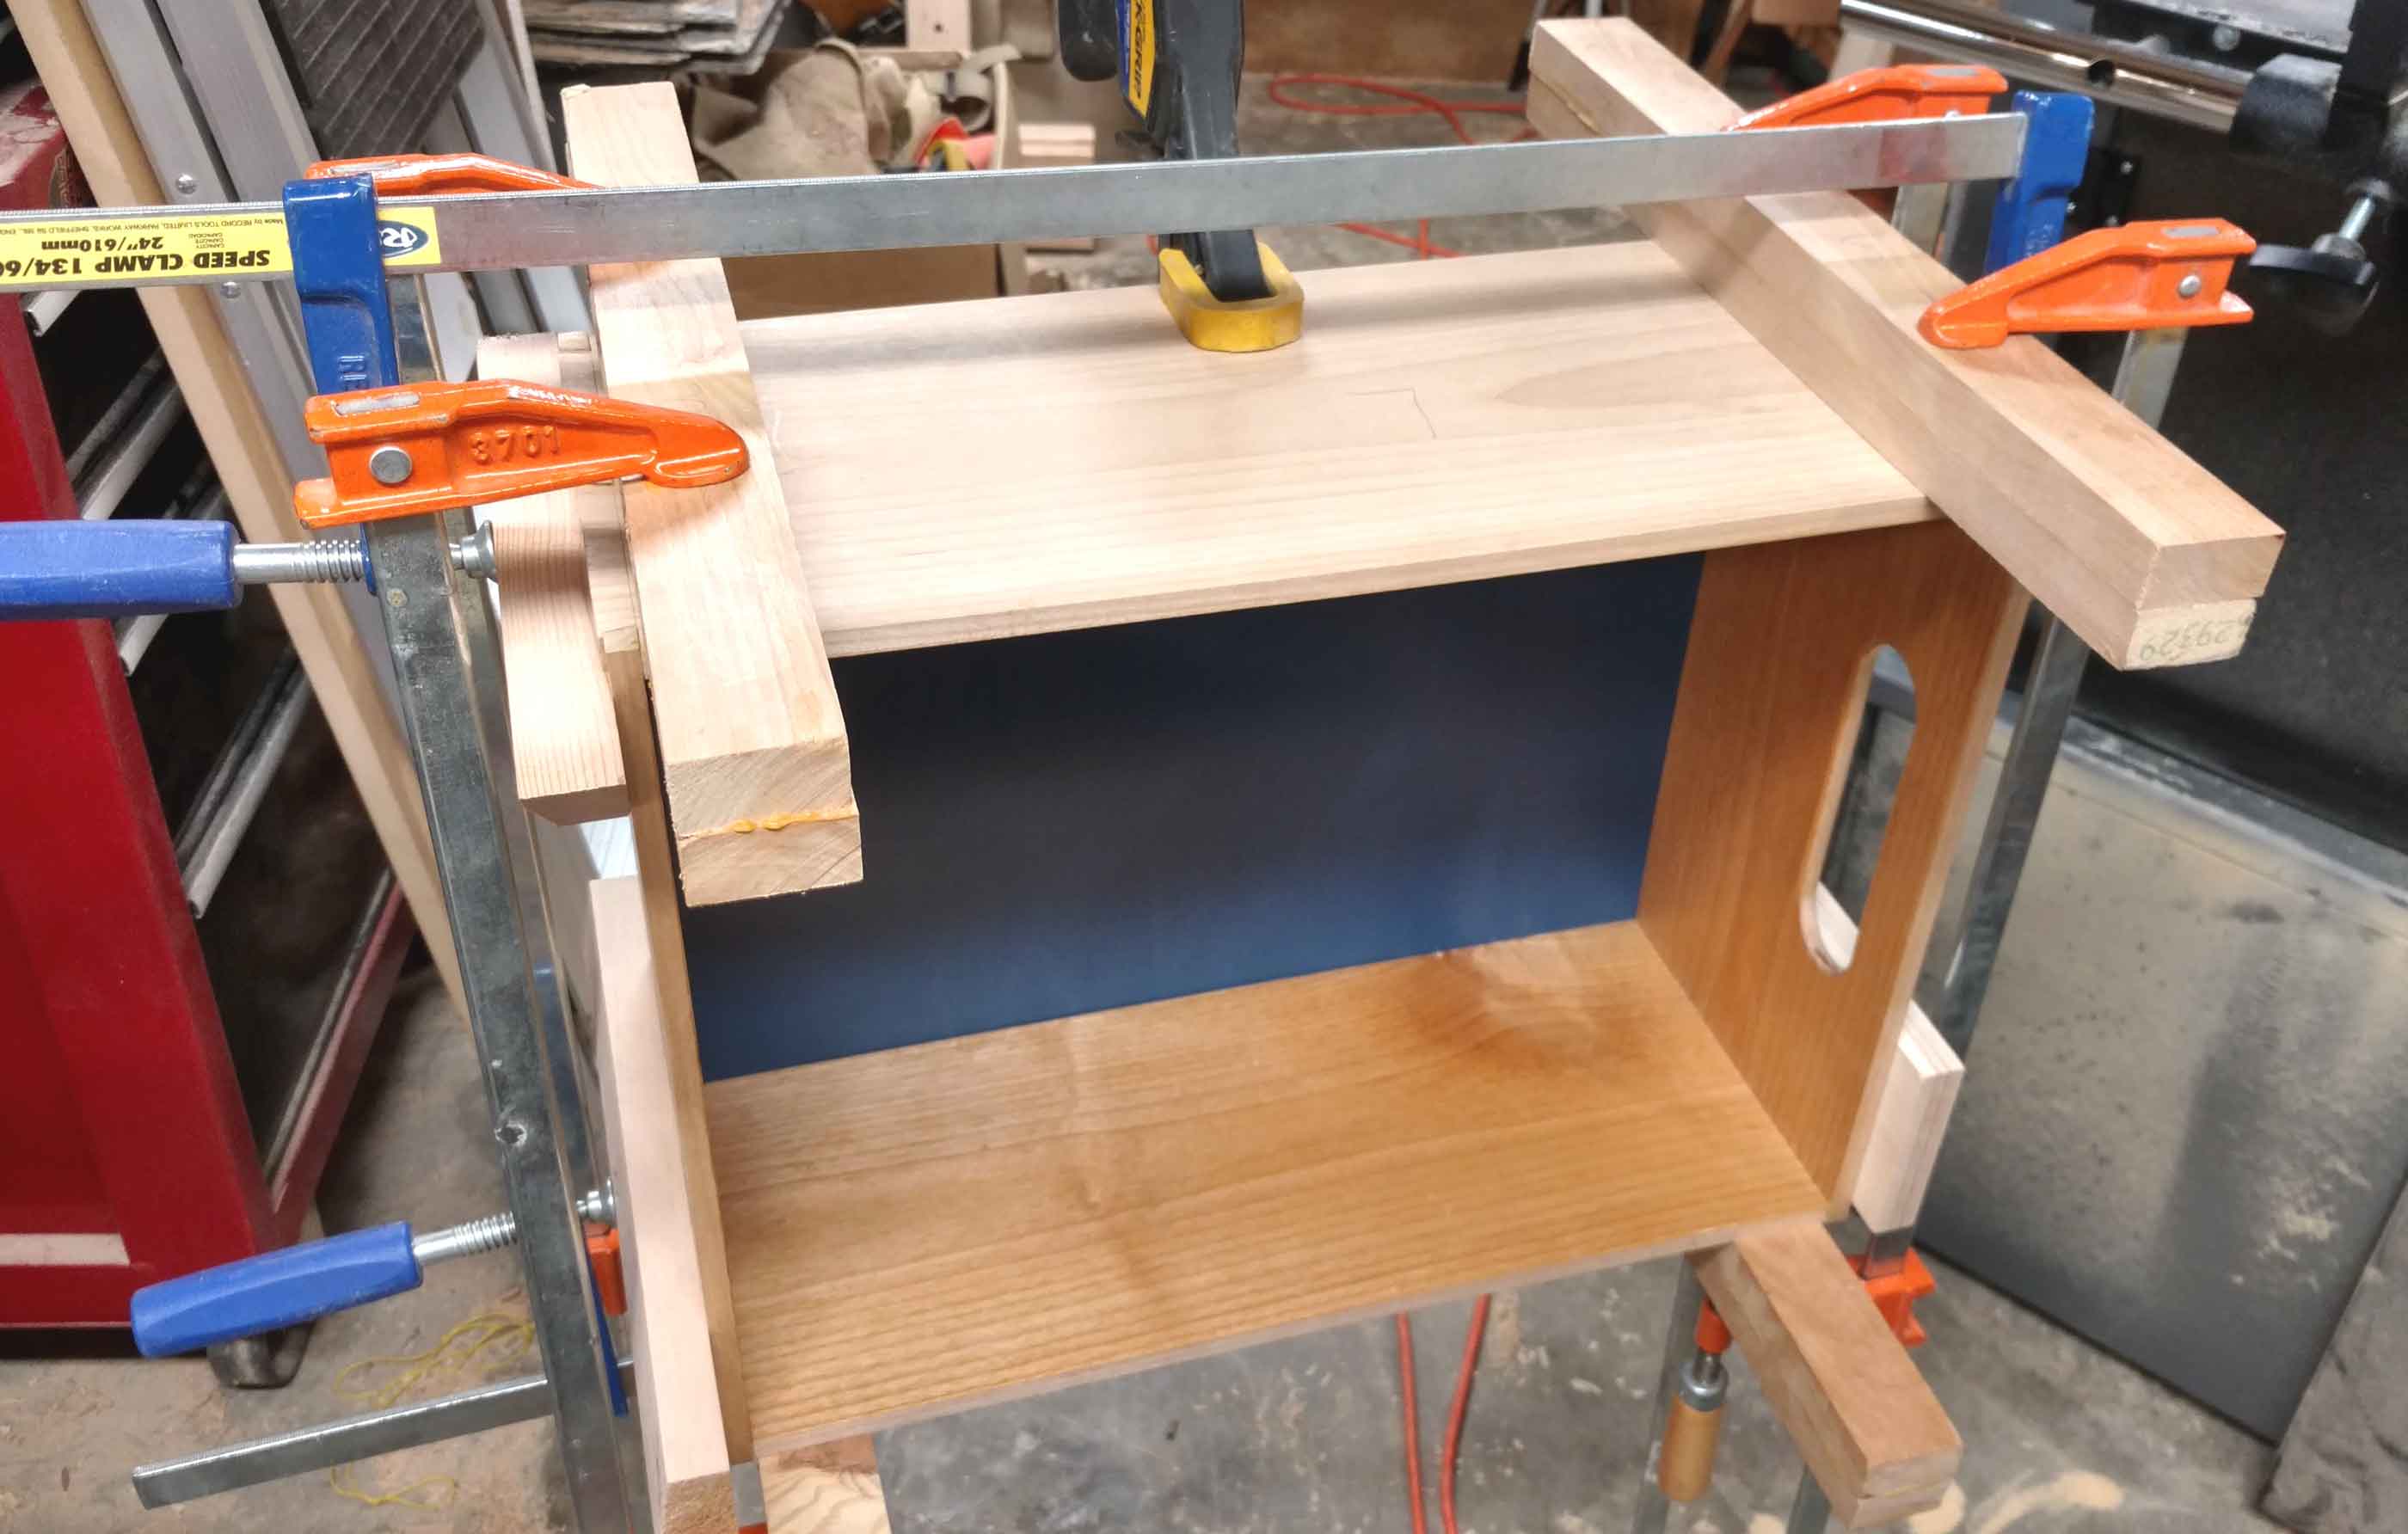
After the flush-cutting was done, I used a 1/8" radius roundover bit to ease the edges of the handles a bit. A little hand sanding and the profile was as smooth as silk. Ok, maybe not silk, but it was comfortable enough. Glue-up was straightforward, and used as many clamps as I could muster without breaking out the 6' big boys.
Finish

Before the glue-up on boxes with exposed interiors, I like to completely finish inside surfaces. This keeps things really clean and makes the final finishing move really quickly. When I use a plywood bottom with solid wood sides, I like to paint the plywood and seal the solid wood. These crates got my go-to finish of the moment, Federal Blue Milk Paint from Old Fashioned Milk Paint, and Daly’s Seafin Teak Oil. The milk paint was applied in two coats, and then the entire interior got three coats of teak oil. The milk paint gets sealed with oil as well, as it doesn’t have any water resistance on its own. The oil also imparts a warmness to the paint.
Three coats of teak oil is a two-day process, but it’s worth it. There is durability in those layers! The drawback is each coat of oil needs to dry for eight or more hours. My final coat needed 24 before it could be waxed, which happens after the final coat of oil is dry. I use my homemade paste wax, which can be found on the resource page. It’s applied with #0000 steel wool and immediately buffed out to a low sheen.
Final interior finishing and glue-up complete, I moved to the exterior finish, which was a snap. It was the same process as the interior, but without the paint. I did seal the bottom as well, so there was an even barrier to moisture all around. The crates turned out great. They are now in their final home, filled with tiny toys and blocks, and taking the abuse that was expected.
